Can Affinity Designer Vectorize With Image Trace?
Affinity has Image Trace in the unified app. See how it works, why Designer 1 and 2 lack it, its documented limits, and when to compare another tracer.
On this page
Short answer: yes, now it can, and that "now" matters. For years, "Affinity has no auto-trace" was the correct answer; most forum threads and older tutorials you'll find still say it. The new unified Affinity app changed that: Affinity's current vector-file guide documents Vector → Image Trace for converting a raster image into vector curves. The separate Designer 1 and 2 applications predate that unified-app feature, which is why the answer you find online depends entirely on when it was written.
So the honest breakdown has three parts: how the new Image Trace works and where its documented limits are, what to do if you're still on Designer 1 or 2, and when a dedicated vectorizer beats the built-in route even in the new app.
The quick version
- New unified Affinity desktop app: yes. Select the image, then Vector menu → Image Trace. Two controls: Edge Threshold and Curve-fitting tolerance.
- Affinity Designer 1 and 2: no built-in trace. Trace manually, or use an external vectorizer and import the SVG.
- Command missing or unavailable? Image Trace belongs to the new unified desktop app. In that app, switch to Vector Studio and select the raster image itself.
- Documented limits: Affinity says automatic tracing can round sharp corners or miss fine and complex details, so inspect and correct important geometry.
- Judge the output like any trace: editable paths, sane node counts, no wrapped raster.
The answer changed with the new Affinity
If you're searching this in 2026, you're landing in the middle of a version split. The classic Affinity Designer (versions 1 and 2) shipped a full vector toolset but no automatic tracing, the one famous gap next to Illustrator. The unified Affinity release that followed Designer 2 closed it: Image Trace is now a built-in command, and Affinity's own help positions it for exactly the jobs you'd expect, such as recreating logos and old artwork where the original file is gone.
That's why the advice online contradicts itself. Reddit threads and tutorials from the Designer 1/2 era correctly say "no auto-trace, draw it by hand or use another tool." Newer guides walk the built-in feature. Check which app you're actually running before following either.
How Image Trace works in the new app
Affinity's current official tracing guide shows this flow:
- Open or place your image and select it.
- Choose Vector → Image Trace. If the command is missing, confirm that you are in the new unified desktop app and its Vector Studio rather than Affinity Designer 1 or 2.
- Set Edge Threshold: how sensitive the trace is to edges, which decides what becomes a vector object.
- Optionally adjust Curve-fitting tolerance: how smooth or sharp the resulting outlines are.
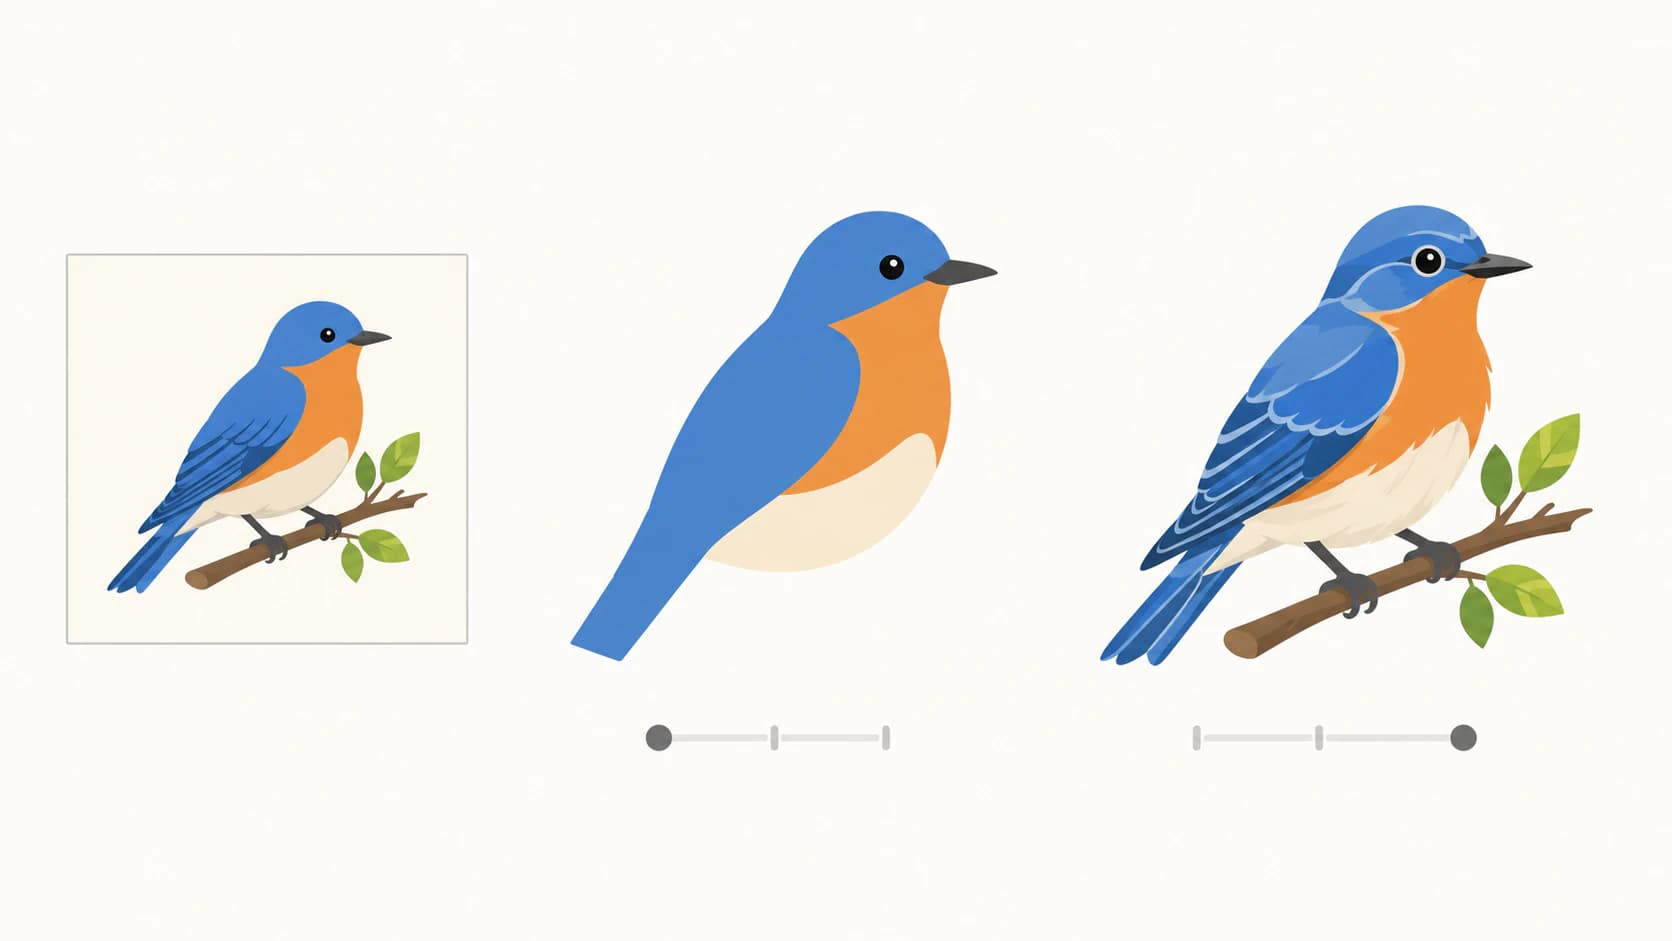
- Use the dialog's split view to drag across areas of interest and compare pixels to paths before committing.
Use the split view to compare the raster and trace before applying the result. Afterward, Affinity recommends using the Node Tool to correct important corners and fine details that automatic tracing did not preserve.
The honest limits in the official guidance
Affinity's current guide is clear that auto-tracing is a starting point rather than exact construction. The main review areas are:
- Sharp corners can be rounded. Inspect logo corners and geometric details before accepting the result.
- Fine or complex details can drift. Small gaps and intricate contours may require Node Tool corrections or a manual redraw.
- Low-resolution sources still limit the result. Enlarging a small raster does not restore the edge information the trace needs.
Add the universal caveat for any tracer: check what the output is like to edit. A trace can be visually faithful and still arrive as dense, fiddly paths, so run the same checks you'd run on any converter's output: click shapes to confirm they're editable, zoom for crispness, and look at the anchor-point count before building on it.
Still on Designer 1 or 2?
Nothing changed inside those released versions: Designer 1 and 2 do not include the built-in command. The workable routes are to redraw over the image with the Pen tool, use an external vectorizer and import the SVG, or move to the new unified app for Image Trace. The first route gives you direct control but takes the most work; the manual-versus-automatic comparison explains that trade-off. If you are comparing in-app workflows, Figma also has a paid Vectorize tool that uses Figma AI credits, while Clip Studio Paint converts raster layers into its line-oriented vector layers.
When a dedicated vectorizer still wins
Even with Image Trace built in, a purpose-built converter earns its place in a few situations:
- You're not at your desktop. The built-in flow lives in the app; a web vectorizer runs in any browser, including on your phone.
- Messy real-world sources. Affinity documents limits around sharp corners, fine details, and complex shapes. Running a second tracing method gives you another result to compare rather than assuming one set of sliders will suit every source.
- You care about the edit afterward. If the SVG is headed for recoloring, cutting, or client handoff, output tuned for low node counts and per-color editable shapes saves the cleanup pass. That's the yardstick our vectorizer comparison ranks everything by, including the tool this blog belongs to.
What this looks like with PerfectVector
The workflow mirrors what Photoshop users without auto-trace have always done, minus the manual redraw: upload a supported raster image, inspect the reconstructed paths and color shapes in the free preview, adjust the palette, and unlock the SVG with one credit only when it is ready to import into Affinity. If the new Affinity app handles a clean, high-resolution source well, its built-in trace may be all you need; use the dedicated route when the browser workflow or a second tracing method is useful.
FAQ
Does Affinity Designer have an image trace option? The new unified Affinity app does: Vector menu → Image Trace, with Edge Threshold and Curve-fitting tolerance controls. Affinity Designer 1 and 2 do not have any built-in trace, which is why older answers online say no.
How do I vectorize an image in Affinity Designer 2? Designer 2 has no auto-trace. Either redraw the image manually with the pen tool, or convert it with an external vectorizer and import the resulting SVG, which Designer 2 edits normally.
Why is Image Trace grayed out in Affinity? Affinity's official guide places Image Trace in the new app's Vector Studio and starts with a selected raster image. Confirm that you are using the unified desktop app, switch to Vector Studio, and select the raster itself rather than a group or curve. Designer 1 and 2 do not include the command.
Why does my Affinity Image Trace look bad? Affinity's current guide warns that automatic tracing can round sharp corners and lose fine or complex details. Start with the highest-resolution original available, compare the preview in split view, adjust the trace sliders, and correct important geometry with the Node Tool after applying the trace.
Is Affinity's Image Trace on iPad too? As of August 26, 2026, no. Affinity's current download page lists the unified app for Windows and macOS and says iPadOS is coming soon. Affinity Designer 2 for iPad is the older app and does not include the unified app's Image Trace feature.
Should I use Affinity's Image Trace or a dedicated vectorizer? For a clean, high-resolution source inside the new app, the built-in trace is convenient and immediate. For a rough source, work away from your desktop, or output you will heavily edit, recolor, or cut, compare a dedicated vectorizer and choose the result with better fidelity and path structure.
Sources
- Affinity — What is a vector file? — current Image Trace command, split-view workflow, and documented auto-trace limitations.
- Affinity — Getting started with Affinity — official unified-app tutorial demonstrating Image Trace.
- Affinity — Get Affinity — current desktop platforms, iPadOS availability, Image Trace inclusion, and Version 2 status.
- Affinity Support — Introducing the all-new Affinity — identifies the current unified application separately from Version 2.
The famous gap is closed, with asterisks. If your Affinity has the Vector menu command, try it on a good source and check the paths it hands back. When the source is rough or the output needs a second method, compare a PerfectVector trace and bring the better-structured SVG into Affinity.
More from the blog

Can Pixelmator Pro Vectorize an Image? What Works
Pixelmator Pro draws and edits vector shapes but does not document automatic raster tracing. Learn what SVG export does and choose a practical vector workflow.

AI SVG Generator vs AI Vectorizer: Which Do You Need?
An AI SVG generator makes a new vector from a text prompt. An AI vectorizer converts the image you already have. Here's how to pick, and when you need both.