Convert a TIFF Scan to Vector Without Losing Detail
A TIFF scan can hold crisp line detail and plenty of noise. Learn how to prepare the source, trace it into editable SVG paths, and audit the result.
On this page
- First decide whether tracing is the right job
- What “line detail” actually means in a scan
- Pixel dimensions matter more than the DPI label
- Preserve character, not every speck
- Prepare the TIFF without flattening the drawing
- Convert the TIFF scan to SVG
- Audit the SVG for lost and invented detail
- A practical keep, clean, or redo decision
- FAQ
- Sources
A TIFF scan can become a clean vector, but the TIFF format itself does not guarantee a good trace. The useful information is in the pixels: sharp ink edges, enough resolution, and clear separation between the drawing and the paper. Dust, halftone texture, faint pencil, bleed-through, and soft focus are pixels too, so a tracer may faithfully turn them into unwanted shapes.
The safest workflow is to preserve the original scan, make a cleaned working copy, trace that copy, and compare the SVG against both. Remove defects without sanding away the line character you meant to keep.
The short workflow
- Keep the untouched TIFF as your archive master.
- Check the actual pixel detail at 100% zoom; a DPI label cannot restore detail that was never captured.
- Clean only what is clearly a scanning defect: dust, paper gray, bleed-through, or isolated specks.
- Trace one supported page into SVG, then audit thin lines, corners, holes, and the node count.
- Redraw instead when geometry or lettering must be exact.
First decide whether tracing is the right job
TIFF is a raster container. It can store a careful scan with excellent tonal detail, but its image is still a grid of pixels. The Library of Congress TIFF format description documents its tag-based raster structure and many variants. Vectorization interprets that grid as shapes and curves; it does not uncover original paths hidden inside the file.
That makes some TIFF scans much better candidates than others:
| Source | Likely result | Better approach |
|---|---|---|
| Ink drawing on clean paper | Strong trace with minor cleanup | Automatic vectorization |
| Logo, stamp, map symbol, or flat diagram | Strong if edges are sharp | Automatic trace, then geometry check |
| Pencil sketch with light construction lines | Some lines may vanish or fragment | Raise contrast selectively, then trace |
| Old photocopy with dust and bleed-through | Noise can become hundreds of shapes | Clean a duplicate first |
| Photograph or continuous-tone painting | Simplified, poster-like vector | Keep raster unless stylization is the goal |
| Chart or diagram originally made in software | Tracing can distort text and geometry | Re-export from the original application |
| Precise lettering, dimensioned drawing, or technical geometry | Small trace errors can matter | Manual redraw or CAD reconstruction |
The last two rows save the most wasted effort. If an original vector, CAD, plotting, or layout file still exists, export from it. A TIFF is then a delivery copy, not the best source.
What “line detail” actually means in a scan
Not every dark mark deserves a vector path. The goal is to preserve authored structure while rejecting capture defects.
Pixel dimensions matter more than the DPI label
DPI metadata describes a relationship between pixels and physical size. After the scan exists, changing only that label does not create new edge information. The UK National Archives’ digitisation guidance distinguishes pixels per inch used for scanning from dots per inch used for printing. Judge the source at 100% zoom:
- Are the thinnest intended lines several visible pixels wide, or do they blink in and out?
- Are edges crisp enough to locate, or spread across a soft gray band?
- Are neighboring lines separated, or already fused together?
- Can you distinguish ink texture from paper texture?
If those answers are poor, resaving the same file at a higher DPI will not fix it. Rescan the original at a useful resolution, improve focus and contrast, or accept a manual redraw.
Preserve character, not every speck
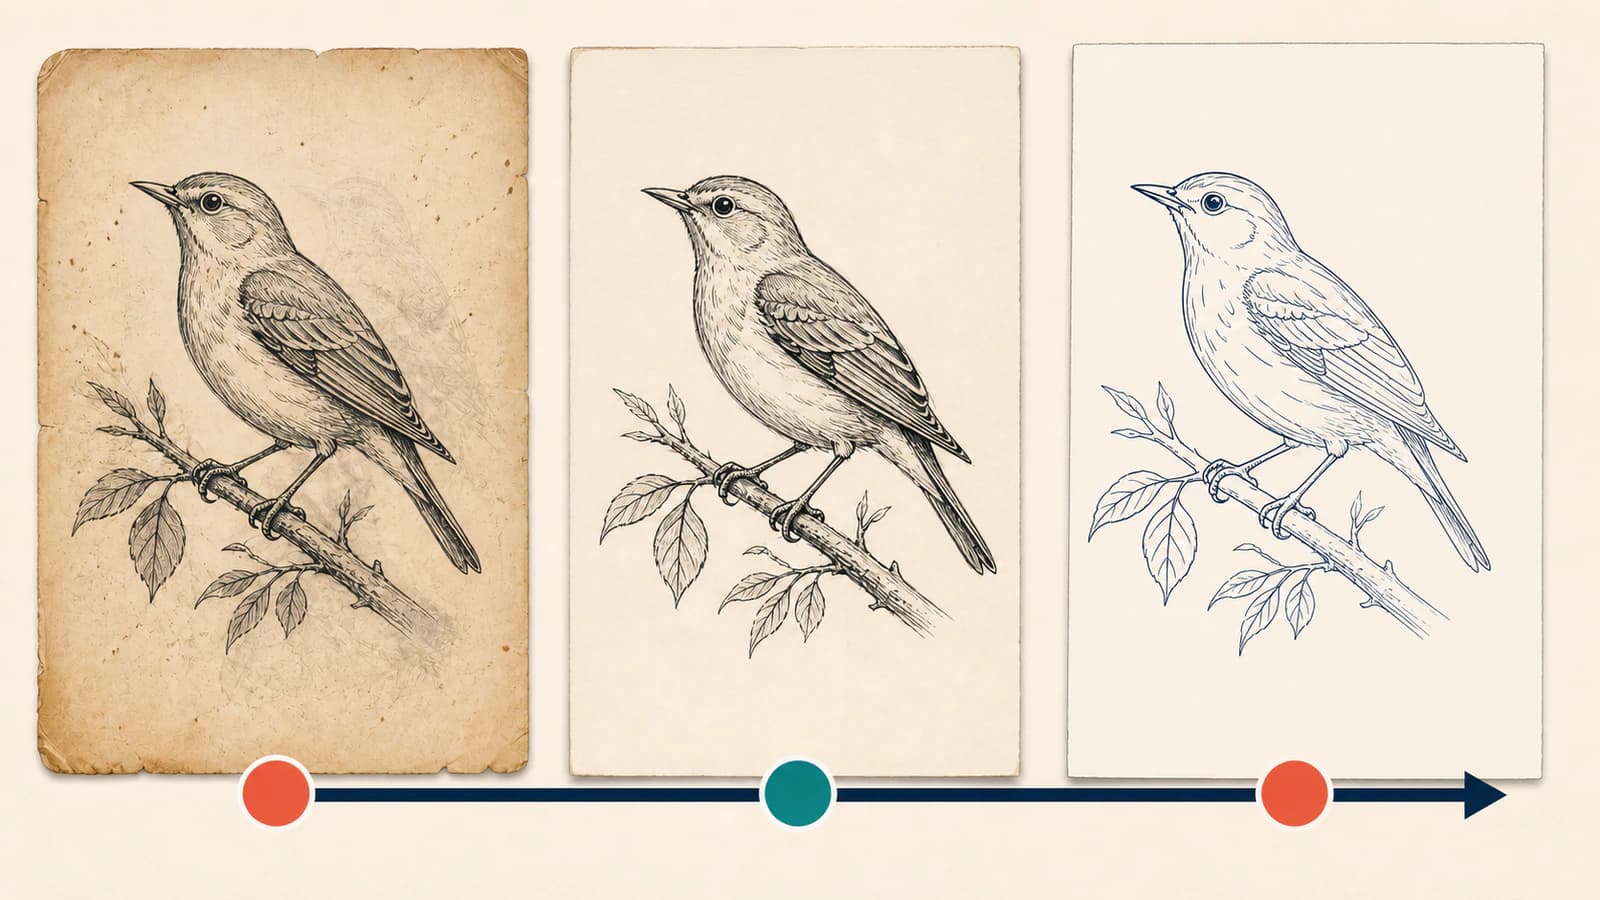
A hand-inked line can have small pressure changes, imperfect corners, and a little wobble. Those may be part of the drawing. Isolated dust, a gray paper field, scanner streaks, and reverse-side bleed-through are not. Use a duplicate working copy so cleanup remains reversible.
Judge each mark by its relationship to the drawing, not by darkness alone. Repeated pressure variation along a stroke is likely authored character; a detached speck, background haze, or streak crossing unrelated areas is more likely a capture defect.
For expressive drawings, compare against the line-art-to-SVG workflow. Its outline-versus-centerline warning also applies here: ordinary tracing follows both edges of a stroke, which is right for printing and shape cutting but wrong for a plotter that needs one path down the middle.
Prepare the TIFF without flattening the drawing
- Duplicate the scan. Keep the original TIFF untouched. Do all threshold, level, crop, and retouch work on a copy.
- Crop to the intended artwork. Remove scanner-bed borders, labels, and empty page area. A tighter frame gives the trace more useful pixels.
- Correct orientation before tracing. Rotate once from the original, not through repeated lossy exports.
- Set the white and black points carefully. Push paper toward white and ink toward dark, but watch the thinnest line while you adjust. Stop before it breaks.
- Remove isolated defects at source size. Dust that stays one or two pixels wide can become tiny closed shapes. Clean obvious specks, but do not blur the whole page to solve a local problem.
- Separate bleed-through from intentional marks. If reverse-side text is faint, a targeted levels or mask adjustment is safer than a hard global threshold.
- Export the working copy without shrinking it. Keep the original pixel dimensions and avoid adding sharpening halos around lines.
For black-and-white work, a hard threshold may be useful. For pencil, wash, or variable ink, it can destroy the transitions that tell the drawing apart from dirt. Use the lightest intervention that makes the intended edges unambiguous.
For a measured template, follow the checks for preserving scale in a scanned sewing pattern.
Convert the TIFF scan to SVG
PerfectVector supports a bounded single-page classic-TIFF workflow. A compatible TIFF is decoded locally into a verified still image, with orientation applied, before it enters the normal vectorization pipeline. A multipage TIFF is rejected rather than silently choosing page one.
That boundary matters because “TIFF” covers many variants. Current support is aimed at common grayscale, RGB, RGBA, and palette-based single-page files. BigTIFF, multipage documents, CMYK/YCbCr data, tiled or planar layouts, and some specialist compression or sample types are outside the supported subset. If a file is rejected, export the intended page from an image editor as PNG rather than repeatedly renaming the extension.
For a compatible source:
- Open the TIFF to SVG converter.
- Upload the cleaned working TIFF.
- Let the local preparation step decode and orient the page.
- Vectorize the prepared still.
- Inspect the preview at both fit-to-screen and deep zoom.
- Download the SVG only after the line-survival checks below pass.
PerfectVector fits this workflow when the scan contains recognizable graphic shapes and you want an editable first pass with smooth paths. It cannot decide that every faint mark is precious or that every dark speck is dirt. Your source cleanup and final comparison still carry that judgment.
Audit the SVG for lost and invented detail
Do not compare only the overall silhouette. Use four small test areas:
- The thinnest intended stroke. It should remain continuous. A missing segment means the source needs more contrast or the line is below the useful resolution.
- The tightest gap. Separate lines should not merge into one blob.
- A sharp corner or serif. It should still read as intentional, without a round cap that changes the design.
- A clean paper area. It should not contain clusters of tiny paths from dust or texture.
Then select a few shapes in a vector editor. Curves should use a sensible number of nodes and move as coherent objects. If a smooth arc is built from a noisy chain of anchors, the trace is following scan texture rather than drawing structure. Use the too-many-nodes diagnosis before trying to edit every point by hand.
A practical keep, clean, or redo decision
- Keep a variation that belongs to the authored line and survives at normal output size.
- Clean isolated shapes that clearly come from dust, margins, or paper texture.
- Redo the source when entire thin lines disappear, gaps merge, or halos create double contours.
- Redraw manually when exact geometry, typography, dimensions, or legal brand fidelity matters.
That last choice is not a failed conversion. It is the right production method for a source whose meaning depends on precision the pixels no longer carry.
FAQ
Can I convert a TIFF directly to SVG? Yes, if it is a supported single-page TIFF. The image still has to be traced into paths; changing the extension alone does not make it vector. Multipage or specialist TIFF variants may need the intended page exported as PNG first.
Does a higher DPI number always make a better vector? No. The scan needs enough real pixels across its smallest details. Changing only the DPI metadata does not add detail. A genuine rescan at higher optical resolution can help when the original artwork is still available.
Why did thin lines disappear after tracing? They may be too faint, too narrow in the pixel image, or softened by focus and cleanup. Compare the working copy to the untouched scan, restore contrast selectively, and avoid a global threshold that breaks light strokes.
Why did my vector contain hundreds of tiny dots? Dust, paper grain, halftone texture, and bleed-through can all become closed vector shapes. Remove obvious defects from a duplicate raster first, then retrace. Deleting every dot after conversion is usually slower.
Can PerfectVector use page one of a multipage TIFF? No. It rejects multipage TIFF rather than silently selecting a page. Export the page you intend to vectorize as a supported single-page TIFF or PNG, verify that raster, and upload it separately.
Sources
- Library of Congress — TIFF, Revision 6.0 — Describes TIFF’s raster structure, tags, compression options, and variants.
- Library of Congress — TIFF tags — Lists technical tags used for resolution, orientation, color, and page structure.
- UK National Archives — Digitisation — Gives preservation-oriented guidance on scan resolution, noise, and lossless masters.
- Library of Congress — Scanner and digital camera imaging — Provides practical capture-quality and resolution experiments.
- PerfectVector — TIFF to SVG Converter — States the product’s current single-page conversion workflow.
Keep the archive master untouched, prepare one clean working page, then trace the TIFF scan with PerfectVector. Before you accept the SVG, inspect the thinnest stroke, tightest gap, sharpest corner, and cleanest paper area. Those four checks reveal whether the vector preserved the drawing instead of merely preserving the noise.
More from the blog

SVGZ vs SVG: Choose a File for Editing or Delivery
Compare SVGZ and SVG with a real gzip round trip. See what compression preserves, how web headers differ, and which file to send to an editor or recipient.

Blender Trace Image to Grease Pencil: Choose Your Route
Trace an image to Grease Pencil in Blender, fix missing commands and dense strokes, or prepare a color SVG for import. Choose the route your drawing needs.