
Turn WebP artwork into DXF contours.
Trace a WebP logo or silhouette into outlines you can inspect. Set the DXF width for your CAD or cutting workflow, then check dimensions and connected shapes in the destination application.
or try by clicking an image
FROM SCREEN GRAPHIC TO STENCIL
Think about what stays connected.
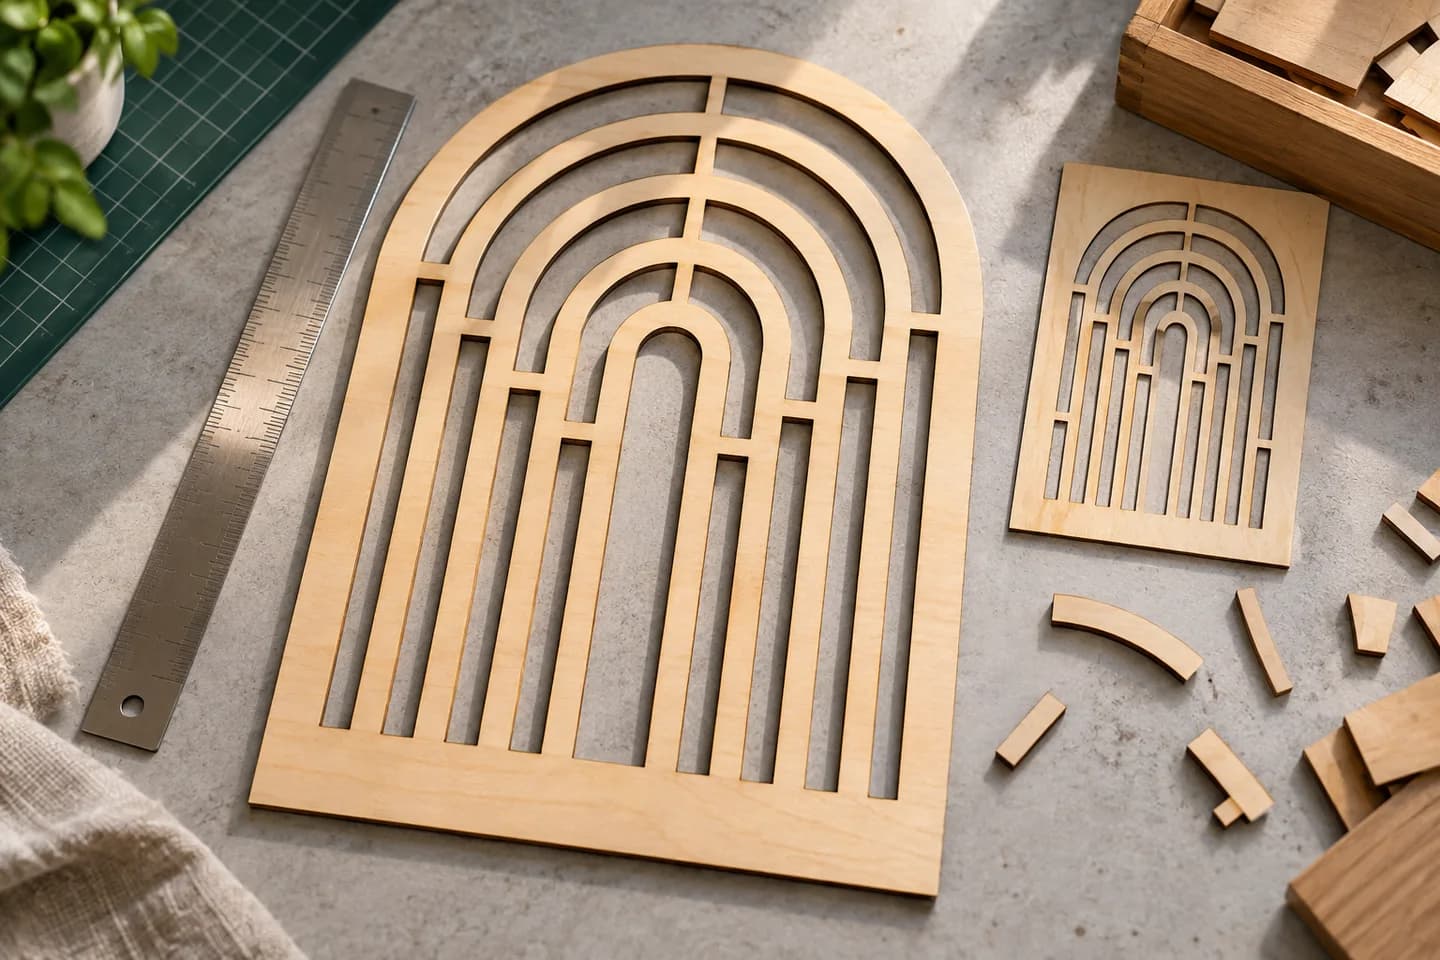
A web icon can be a useful starting point for a stencil or decorative panel. On a screen, separate islands look fine. In a cut sheet, those islands may fall out.
- 01
Choose a clear source
Use the original WebP when possible. Compression and small web dimensions can blur the gaps your stencil needs.
- 02
Plan the bridges
For a one-piece stencil, add deliberate connections in your design workflow. Automatic tracing does not invent structural bridges.
- 03
Check real size
A gap that looks generous on screen may be tiny at the intended width. Review it at physical scale before cutting.
TWO DIFFERENT REVIEWS
A useful web graphic is only the start.
First check what the source contains. Then check what the material needs.
SOURCE REVIEW
- Sharp boundaries, not a blurred thumbnail
- One confirmed frame for animated WebP
- No unwanted background regions
FABRICATION REVIEW
- Connected material where needed
- Minimum features suitable for the material
- Operations and tool compensation set in CAM
ACTUAL SAVED PATHS / PNG REFERENCE
See the shapes behind the silhouette.
This existing PNG example shows actual traced geometry. It demonstrates what to inspect before DXF export; it is not a WEBP conversion result.
Loading the saved paths…
SAVED VECTOR REFERENCE
Inspect real traced boundaries.
This saved PNG conversion shows the geometry behind a decorative panel. Switch to contours and show anchors to see what should be reviewed before a DXF handoff.
FROM IMAGE SPACE TO PHYSICAL SIZE
Choose a width.
Then verify it.
The export width scales the traced artwork. Confirm the dimensions after import, particularly when a template must fit an existing part.
This planning guide does not change your file. Set the intended width again in DXF export after unlocking.
Changing units converts the number. It does not resize the design.
Check contours and dimensions in CAD/CAM.
Set machine operations and toolpaths there.
WEBP TO DXF
Choose the source. Review the geometry.
- 01
Upload your WebP
Upload the WebP directly; no intermediate PNG is needed. Confirm the complete still frame you want when the source is animated.
- 02
Inspect the free preview
Compare the free preview with the source. Check compressed edges, narrow gaps and isolated fragments before deciding to unlock it.
- 03
Unlock and set export size
Unlock the result with one credit to edit and export. Select DXF, review the Cutting & CAM R12 settings, enter the finished width and choose millimeters or inches.
- 04
Review in CAD or CAM
Download the DXF and verify dimensions and contours in CAD or CAM. Set cutting or engraving operations, toolpaths and allowance for the cut width in that application.
PREPARE THE WEBP
Inspect the WebP beyond thumbnail size.
A small web graphic may hide blurred edges and broken details. Zoom in before choosing it for a physical design.
Trace a web graphic into DXF outlines.
PerfectVector traces a WebP logo or illustration into shapes and exports their boundaries as DXF. Use clear, flat artwork with visible gaps and edges. For animation, select one complete still frame first.
Use the free, view-only preview to check unwanted outlines, isolated shapes and enclosed spaces. Unlock the result with one credit to edit and export.
The Cutting & CAM profile exports R12 DXF at a width you choose in millimeters or inches, with geometry grouped by color. Verify the dimensions in CAD or CAM. Prepare any centerlines, cut-width allowances, toolpaths and G-code there; the trace does not recover the original measurements.
Use the CNC artwork workflow to plan the next step after tracing: inspect profiles, verify dimensions and assign operations in CAM. The DXF download supplies geometry, not machine instructions.
Good starting points
- Web logos and simple brand illustrations
- Clear icons saved from your own asset library
- A complete, sharply defined frame from an animation
Source checks
- Upload the WebP directly; no intermediate PNG is needed.
- Look closely at corners and lettering for compression blur or extra edge pixels.
- For animation, select one still frame with the complete design visible.
Before manufacturing
- Tiny details and compression marks can produce unwanted contours.
- A thick visible stroke may trace as boundaries on both sides, not a centerline.
- The chosen export width scales the artwork; it does not recover measurements or correct perspective.
Questions before you convert?
Can I upload WebP directly to make a DXF?
Yes. Upload WebP directly, review the traced vector artwork and unlock the result before DXF export. An animated WebP requires one selected still frame. Saving it as PNG first does not restore missing source detail.
What happens if my WebP is animated?
A frame selector lets you confirm one still image. That frame is vectorized; DXF output does not include the animation or all its frames.
Does WebP-to-DXF make a stencil automatically?
It traces visible shapes. Stencil bridges, connected islands and material-specific minimum features require design review. Automatic tracing does not guarantee a structurally usable stencil.
How do I choose the physical size of the WebP artwork?
After unlocking, choose DXF with the Cutting & CAM R12 profile, enter the intended width and select millimeters or inches. Verify the imported width in CAD/CAM before use.
Do the WebP colors become cutting instructions?
No. DXF geometry is grouped by source color. Assign machine operations and settings in the receiving CAD/CAM application rather than treating those groups as ready-made tool instructions.
Will the DXF include centerlines or G-code?
No. The export supplies traced region boundaries, not centerline recovery or G-code. Kerf, toolpaths and machine code belong in downstream CAD/CAM.
Can I preview the conversion for free?
Vectorizing and viewing the protected preview are free and unlimited. The first unlock of a result costs one credit and enables editing and export. Downloading that same unlocked result again does not use another credit.
Related tools.
WEBP → DXF GEOMETRY