
From transparent PNG to EPS artwork.
Trace your PNG logo or flat illustration into vector shapes. Preview for free, then unlock the result and choose a white or black EPS background for your design or print workflow.
or try by clicking an image
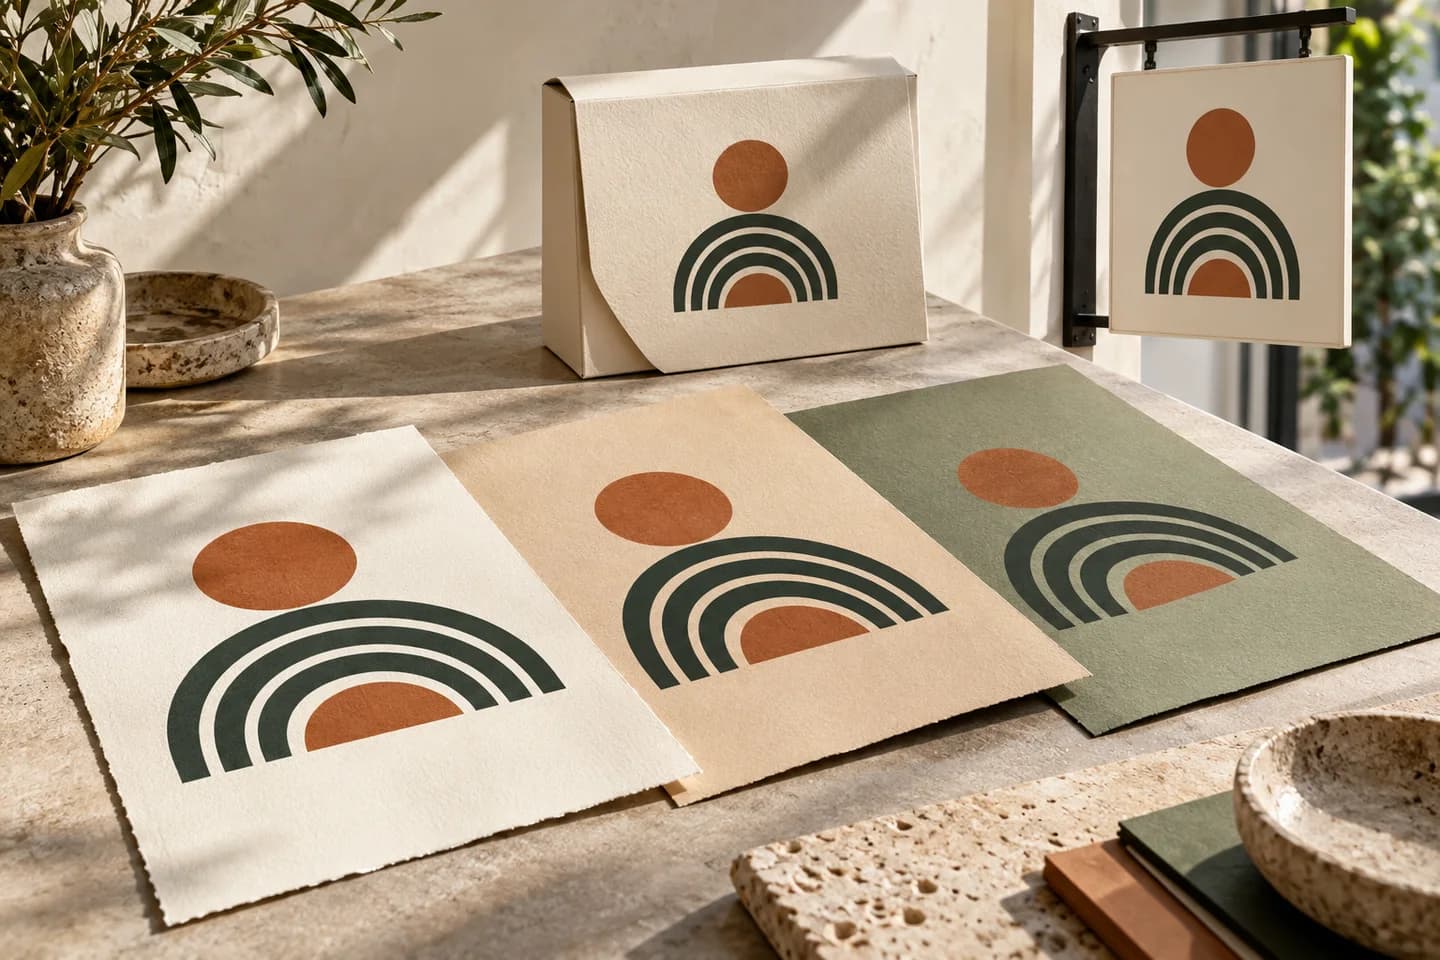
THE PACKAGING HANDOFF
Your logo has a background decision.
A transparent PNG can sit beautifully on a website. An EPS handoff needs a deliberate background choice. Plan the printed use before you send the file.
- 01
The logo edge
Look for pale fringes around anti-aliased edges. Judge the trace against the surface where the artwork will be placed.
- 02
The smallest use
Inspect enclosed letters and narrow spaces at the actual label size. Enlarging paths does not make crowded lettering readable.
- 03
The print requirement
Ask the supplier whether RGB EPS with an opaque background suits the job before preparing a production file.
BEFORE YOU SEND THE EPS
Check the artwork.
Confirm the print requirements.
Your EPS contains filled vector shapes in RGB, with a white or black background. Check that this matches what your printer or designer needs.
Preview your PNG for free- Vector shapes
- Inspect the traced artwork and its smallest details.
- RGB fills
- Ask the printer about CMYK conversion or spot-color preparation.
- Opaque background
- Choose white or black. Use a different format when transparency is required.
- Final placement
- Open the export in the receiving application and verify its scale and appearance.
PNG TO EPS
From source pixels to a reviewed EPS.
- 01
Choose the PNG source
Start with the largest original PNG, especially for small lettering and thin gaps.
- 02
Inspect the free preview
Compare the free preview with the PNG. Check letter openings, pale details and soft edges against the source.
- 03
Unlock, then refine
Unlock the result with one credit to edit and export. Adjust colors or remove unwanted shapes if needed, then select EPS.
- 04
Download and check the EPS
Choose a white or black background and download the EPS. Open it in the receiving application to check its size, background and colors.
KNOW YOUR PNG SOURCE
Check transparent edges before EPS export.
Use a clear original PNG. Look closely at small lettering, narrow gaps and partly transparent details.
What changes when PNG becomes EPS?
A PNG logo may have crisp edges and a transparent background, but it still contains pixels. PerfectVector traces those pixels into shapes for EPS export. Check small lettering and soft edges before downloading.
Inspect the preview for free. Unlock the result with one credit to edit and export, then select EPS and choose a white or black background.
This EPS export uses RGB colors and an opaque background. If your supplier needs CMYK, named spot colors or separate ink plates, prepare those in a print application. Check the final file against the supplier's requirements.
Use PNG to SVG when you need a transparent vector file. Check its edges in the receiving application against the background you plan to use.
Useful starting points
- Brand marks on plain or transparent backgrounds
- Flat-color packaging motifs
- Bold icons and sign graphics
Before vectorizing
- Start with the largest original PNG, especially for small lettering and thin gaps.
- Check whether the background is truly transparent or painted white.
- Inspect soft edge pixels and shadows; PNG transparency does not make those effects suitable for EPS.
Before exporting EPS
- A PNG is still pixels; tracing cannot restore lettering that is too small to read.
- Check whether soft shadows and glows still suit the design on an opaque white or black background.
- An EPS exported here has a white or black background, even when the PNG starts transparent.
Questions before you convert?
Can a transparent PNG become a transparent EPS?
No. PerfectVector’s EPS export uses an opaque white or black background and does not retain PNG alpha transparency. Use PNG to SVG when the receiving workflow needs transparent vector artwork.
Is the PNG embedded inside the EPS?
This workflow vectorizes the PNG first and exports the resulting supported paths as EPS. It is different from placing the unchanged PNG inside an EPS container.
What happens to PNG shadows and semi-transparent edges?
EPS export does not support partial opacity. Inspect the traced result and plan an opaque background; soft shadows or translucent effects may need a different format or separate redesign.
Can I use the EPS for a packaging logo?
A clear, flat-color logo is a useful starting point. Check the smallest lettering, background and color requirements with the supplier. The conversion alone does not certify a packaging file for production.
Will the exported EPS contain CMYK or Pantone colors?
The exporter writes RGB fills. It does not provide CMYK conversion, Pantone matching, spot separations or PDF/X certification. Have a print specialist prepare those requirements when needed.
Does a larger PNG always make a better EPS?
More useful source detail can help, but simply enlarging a small PNG adds no original information. Prefer the largest authentic source with clear edges and readable lettering.
Can I preview the conversion for free?
Vectorizing and viewing the protected preview are free and unlimited. The first unlock of a result costs one credit and enables editing and export. Downloading that same unlocked result again does not use another credit.
Related tools.
PNG → EPS