
Letter openings and islands
For stencil work, add bridges where enclosed pieces need to stay attached. Vectorization does not create these connections for you.
Trace a PNG logo, silhouette or line drawing. Inspect the outlines and openings, then export DXF at your chosen width for review in CAD or CAM.
or try by clicking an image
PNG / CONTOUR STUDY
A logo is more than its outside edge. See how the traced paths describe the openings, gaps and curves that give it character.
Loading the saved paths…
SAVED VECTOR EXAMPLE
Switch between the original artwork and its traced contours. Turn on anchors to inspect the points along each curve.
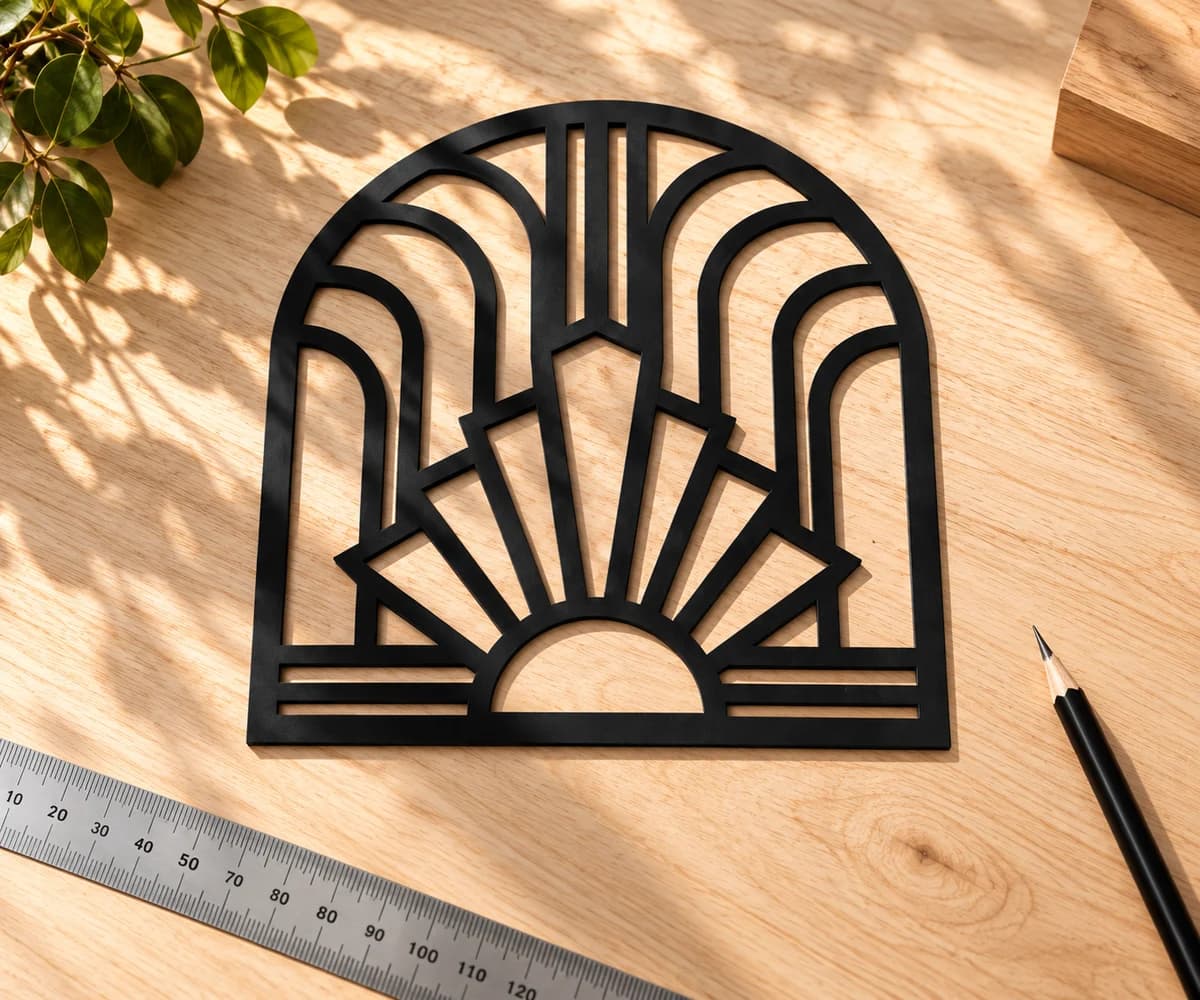
FROM SCREEN TO WORKSHOP
Think about the piece you want to make. Letter openings, isolated shapes and thin connections can need attention before you assign a single cut.
For stencil work, add bridges where enclosed pieces need to stay attached. Vectorization does not create these connections for you.
Inspect adjacent shapes for overlapping boundaries before assigning cuts. Color regions do not automatically define one continuous cut path.
DXF geometry is grouped by source color. Assign cutting, scoring or engraving in the target application; a color layer has no machine operation by itself.
FROM PIXELS TO PHYSICAL SIZE
Choose the finished width when you export. Then check dimensions and assign operations in your CAD or CAM application.
Geometry only. Toolpaths, kerf and machine settings belong in your CAD/CAM software.
Choose the clearest version of the artwork. Avoid screenshots with a visible checkerboard, browser controls or extra borders.
Inspect the free protected preview. Check the silhouette, letter openings, unwanted background shapes and any thin connections between parts.
Unlock the result with one credit to edit and export. With DXF selected, review the Cutting & CAM R12 settings, choose millimeters or inches and enter the finished width.
Download the DXF and open it in CAD or CAM. Verify dimensions and contours, then assign cutting or engraving operations and any tool compensation.
CHECK THE PNG
Use the original PNG when you have it. A screenshot or a checkerboard saved into the image adds pixels that can become unwanted shapes.
PerfectVector traces the shapes in your PNG into vector regions and exports their boundaries as DXF. Start with a clear logo, silhouette or line drawing, then inspect both the outside edge and the openings inside it.
A shape that looks clear on screen can behave differently when reduced to a small physical piece.
Check the openings in letters, gaps between shapes and small isolated pieces at the intended physical size. A narrow connection or tiny hole may need adjustment for your material and tool.
Shadows, soft edges and partly transparent areas need closer review than a flat silhouette. DXF carries geometry, so those effects will not retain their PNG appearance. Keep an SVG copy if you also need a colored design file.
For a PNG that will become a laser project, the laser-cutting artwork workflow explains cut and engraving choices and the checks that remain after vectorization.
BEFORE YOU EXPORT
Yes. Upload the PNG and inspect the vectorized artwork before exporting DXF. Check the silhouette and inner openings carefully. DXF carries geometry rather than a PNG-style transparent appearance.
The background may be saved as visible pixels rather than actual transparency. Those pixels can be traced too. Use the original transparent PNG when available. After unlocking, remove unwanted background regions and review the result before export.
Not necessarily. PerfectVector traces visible regions. A thick line can have a boundary on each side. If your workflow needs single-line engraving, inspect the result and use a dedicated centerline workflow where needed.
Choose the physical width in millimeters or inches in the DXF export settings. Image resolution affects the detail available to trace, but it does not replace the size you need for the finished part. Verify the width again after import.
The export uses the Cutting & CAM R12 profile and contains artwork-derived geometry. Check dimensions, open or overlapping contours and small features in the target software. Set operations, kerf or tool compensation, feeds and speeds there; the file does not include G-code.
Choose DXF when the next application needs CAD exchange geometry and a defined physical size. Choose SVG when you need a scalable colored design or an SVG-based workflow. The PNG to SVG page covers that alternative.
Vectorizing and viewing the protected preview are free and unlimited. The first unlock of a result costs one credit and enables editing and export. Downloading that same unlocked result again does not use another credit.
YOUR NEXT PROJECT STARTS HERE
Preview the traced artwork for free. Check the details, then unlock a download when you are ready.
Preview your PNG for free