Unity SVG Import: Prepare Art for UI Toolkit or Sprites
Choose a Unity SVG import route by editor version and destination. Prepare paths, handle unsupported effects, and check UI Toolkit images or sprites in context.
On this page
- Choose the import route before editing the artwork
- Prepare an SVG that the importer can reproduce
- Confirm that the artwork contains paths
- Replace unsupported features deliberately
- Remove accidental complexity
- Import into UI Toolkit in Unity 6.3 or later
- Import for Sprite Renderer or uGUI
- Diagnose the first visible difference
- What this looks like with PerfectVector
- FAQ
- Sources
Unity SVG import starts with two decisions: which editor version you use, and where the artwork will appear. Unity 6.3 includes SVG import for UI Toolkit and Texture2D. Direct SVG imports as Sprite or uGUI assets use the Vector Graphics package; earlier editors use the older package line. Unity documents this split in its Vector Graphics version guide.
If you already have an editable SVG, prepare that file for the importer. If your only source is a PNG or JPG, trace it only when you need vector shapes. A texture or pixel-art sprite can stay raster.
Test one representative icon to separate source-art problems from Unity import and display problems before you process a whole set.
For scene geometry in a different engine, use the Unreal Engine SVG import checks to inspect Motion Design source shapes, openings, and separate pieces.
Choose the import route before editing the artwork
Use the destination component to choose the route. An asset that works in a UI Toolkit layout does not automatically belong in a Sprite Renderer field.
| Unity editor | Destination | Starting route |
|---|---|---|
| 6.3 or later | UI Toolkit | Built-in SVG import as a UI Toolkit vector image |
| 6.3 or later | A Texture2D consumer | Built-in SVG import as a texture |
| 6.3 or later | Sprite Renderer or uGUI SVGImage | Vector Graphics 3.0 preview package |
| Before 6.3 | Package-based SVG workflow | Compatible Vector Graphics 2.0 preview package |
The table follows Unity's package requirements. Pin the editor and package versions used by your project. Instructions for Unity 2018 or a 2.0 preview importer can describe different options from a current 6.3 project.
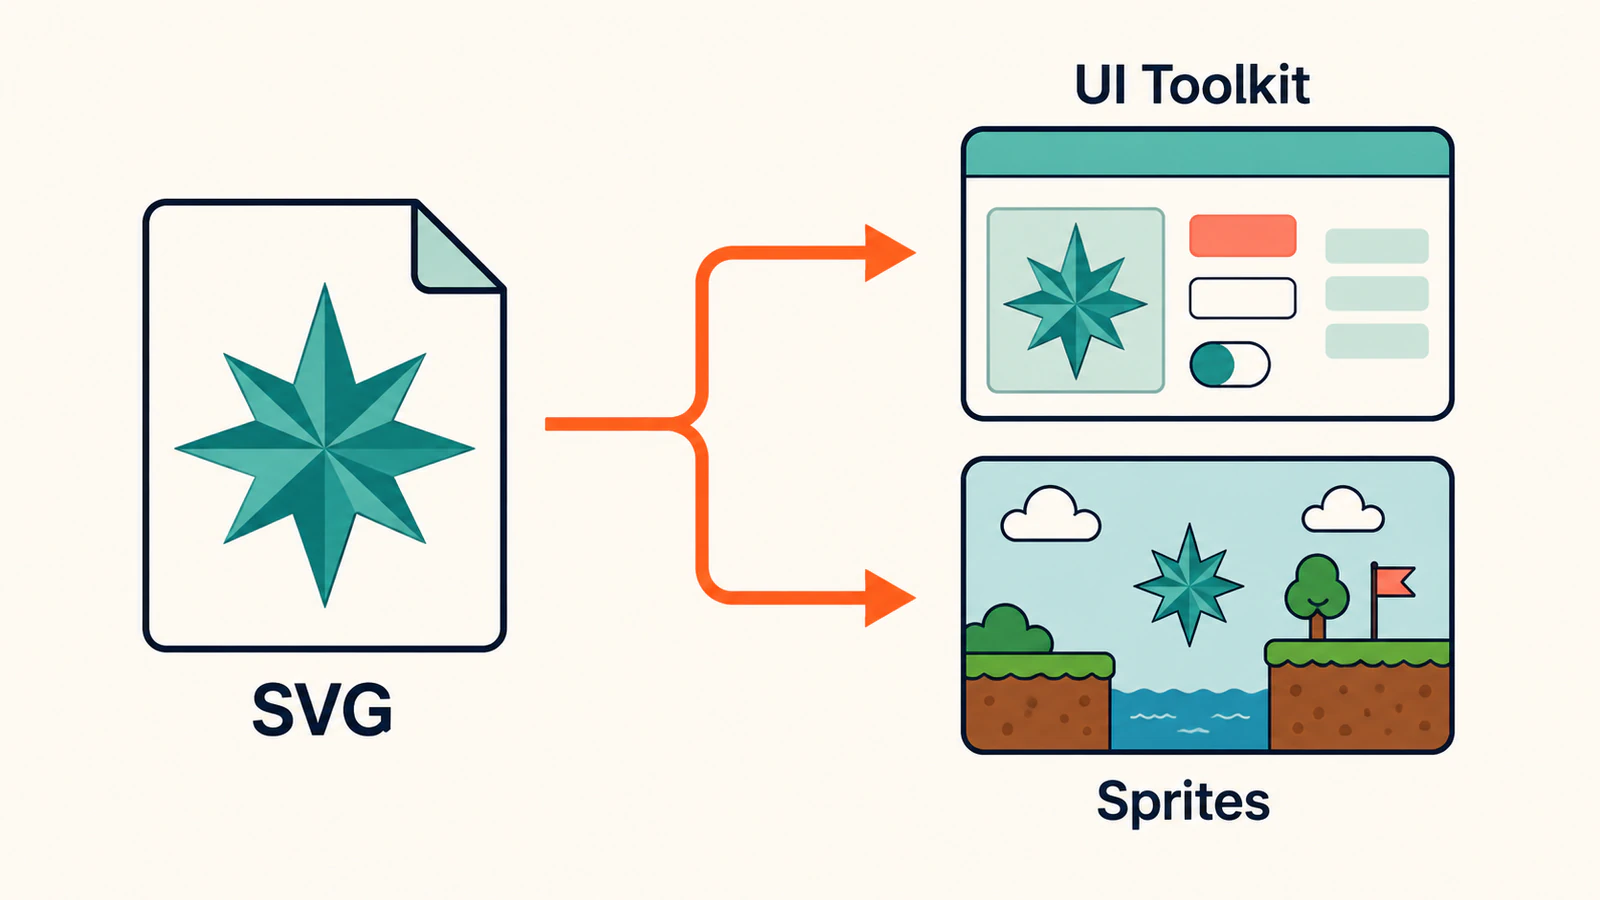
Keep a small import test beside your artwork
Choose an icon with a curve, an internal hole, and any paint effect the set needs. Keep the original SVG beside a simple version made from solid shapes. If the simple version imports correctly, investigate the complex artwork before changing the whole project.
Prepare an SVG that the importer can reproduce
Open the source in a vector editor and inspect the actual objects. Preserve the original master, then make a separate Unity delivery export.
Confirm that the artwork contains paths
An SVG can hold a bitmap through an <image> element; the extension alone does not establish that the artwork is vector geometry. The W3C embedded-content specification documents that distinction. Select part of the artwork in an editor and inspect its objects or markup. Use the embedded-raster diagnosis if it is one image rectangle.
If the original vector file exists, re-export it. Tracing a PNG exported from that master adds reconstruction work and can change the silhouette. For a family of icons, agree on the canvas, padding, and visual weight first; the UI-kit SVG preparation guide covers those set-level decisions.
Replace unsupported features deliberately
Unity's native importer supports part of SVG 1.1. Its documented exclusions include live text, pixel masks, filters, interaction, and animation. A browser preview can therefore look correct while the Unity result differs. See Unity's SVG limitations.
Prepare the delivery copy according to what the artwork needs:
- Convert decorative lettering to outlines. Keep interface labels as text in the interface when they need editing or localization.
- Rebuild a required shadow or glow with an effect supported by the destination, or keep that artwork raster.
- Inspect masks separately from clipping paths. A soft pixel mask and a geometric clip are different constructions.
- Plan animation in Unity instead of relying on animation embedded in the SVG.
Do not flatten every gradient just because a filter is unsupported. Test the effect the design actually uses. If a complex badge fails, export a solid-fill version and add its effects back one at a time. That isolates the feature that changes the appearance.
Remove accidental complexity
Delete stray specks, hidden duplicates, and background rectangles that are not part of the icon. Simplify an obviously noisy curve only while comparing it with the source. A small hole that closes during cleanup is a failed edit, even if the file becomes shorter.
There is no useful universal node target for all game artwork. A geometric arrow and a hand-drawn character need different amounts of detail. The SVG node-cleanup guide helps you decide which points carry shape information.
Import into UI Toolkit in Unity 6.3 or later
Start with a delivery SVG whose silhouette and effects you have already reviewed.
- Add the SVG to the project's Assets folder and select it.
- Set Generated Asset Type to UI Toolkit Vector Image in the Inspector.
- Apply the import settings and use the resulting vector image in the intended UI Toolkit element.
- Preview the actual layout at its smallest and largest intended display sizes.
Unity documents the native asset choice in Work with vector graphics. If the consumer requires Texture2D, select that output instead and review the resulting texture at its intended size.
For UI Toolkit, begin with the recommended basic tessellation settings. Target Resolution and Zoom Factor let the importer configure the curve subdivision for the intended display conditions. Unity recommends using the lowest target resolution that gives satisfactory results. Its image import settings explain the controls.
Keep two reviews separate: whether the SVG describes the right shape, and whether the imported asset displays that shape well. Increasing tessellation cannot restore a hole that disappeared in the source export.
Import for Sprite Renderer or uGUI
Install the compatible com.unity.vectorgraphics package through Package Manager when the destination needs its Sprite or uGUI support. Choose the corresponding generated asset for your component and confirm that the component accepts it. The package's current documentation distinguishes these import types from the built-in UI Toolkit route.
For a Sprite Renderer, verify the object's scene size and pivot before copying it into prefabs. For uGUI, verify the SVGImage workflow your project uses. A regular raster-sprite workflow remains an alternative when the art already looks right at the required dimensions.
The older 2.0 package documents SVG units per scene unit, sprite pivots, and tessellation controls. It also identifies that package as experimental and advises against production use. Teams maintaining that route should review the 2.0 package manual alongside their project's constraints before adding it.
If you are upgrading an existing project, make the import test in a copy or version-controlled branch. Compare generated asset types and references in actual prefabs and scenes. Do not use a successful thumbnail preview as the only migration test, and do not apply a bulk .meta edit from an old forum post without reproducing its specific problem.
Diagnose the first visible difference
Use a short test record for each representative asset: source file, editor/package versions, destination component, expected display size, and the first visible mismatch.
| What you see | First thing to inspect | Useful next test |
|---|---|---|
| Asset will not fit the component's field | Generated asset type and destination | Import for the component you actually use |
| Missing lettering, shadow, or motion | Unsupported source feature | Try an outlined or solid-shape export |
| Icon has extra padding or clips at an edge | Source canvas and element sizing | Compare source bounds with the destination rectangle |
| Curve looks faceted at large size | Tessellation and display scale | Increase the intended resolution or zoom setting gradually |
| Texture looks blurry when enlarged | Raster dimensions and display size | Compare it at the size it was generated to serve |
| Result looks correct but existing scenes break | References, materials, and import changes | Test one affected prefab before a bulk reimport |
For example, suppose a star badge imports but its center hole vanishes. First open the delivery SVG and confirm the hole exists there. If it does, compare a simplified badge export in Unity. If the hole survives in that version, inspect the original badge's overlapping shapes, fill construction, or mask. Re-tracing the source is useful only if the path geometry itself is wrong.
Test the accepted asset in a target build as well as the editor. Record whether it remains legible at the smallest size, whether colors and transparency match, and whether scene or prefab references survive a fresh import. Performance decisions require profiling your own scene; an SVG extension is not a performance measurement.
What this looks like with PerfectVector
PerfectVector fits before Unity import when your only suitable source is raster artwork and you need editable shapes. Upload one flat-color PNG or JPG to PerfectVector's image-to-vector converter, compare the traced silhouette and holes with the original, then inspect the downloaded SVG in a vector editor before importing it into Unity.
Use the same representative icon for the entire handoff. Accept the trace only when you can edit its intended regions, the negative spaces remain open, and cleanup has not distorted the shape. Then apply the Unity destination test above.
Keep a photo, texture, soft glow, or deliberate pixel-art sprite raster when that preserves the intended appearance. For a simple geometric symbol, manual drawing may be easier to control than tracing. PerfectVector prepares SVG source geometry; it does not change Unity's supported feature set or validate your runtime rendering. If the format distinction is unfamiliar, start with what an SVG file contains.
FAQ
Does Unity 6 need the Vector Graphics package? The answer depends on the minor version and destination. Unity 6.3 has built-in UI Toolkit and Texture2D SVG imports. Sprite and uGUI imports use the 3.0 preview package. Earlier Unity versions use the compatible 2.0 preview package route.
Will changing a PNG extension to SVG make a vector sprite? No. Renaming a file does not trace its pixels. Use the original vector source, draw the shapes, or trace suitable raster artwork and inspect the resulting paths before Unity import.
Can tracing fix an SVG that Unity imports incorrectly? Only when the source geometry needs rebuilding. If the SVG contains correct paths but the wrong generated asset type or an unsupported effect causes the problem, fix that import or export decision first.
Sources
- Unity — Vector Graphics 3.0 package guide — Defines the editor-version split and the built-in versus Sprite/uGUI package routes.
- Unity — Work with vector graphics — Documents native asset choices and unsupported SVG features.
- Unity — Image import settings — Explains UI Toolkit vector-image settings and tessellation controls.
- Unity — Vector Graphics 2.0 package manual — Covers the older importer, scene-unit and pivot controls, and its experimental status.
- W3C — SVG embedded content — Establishes that an SVG can include raster image content.
If your Unity asset starts as a flat PNG or JPG and needs editable paths, convert your image with PerfectVector. Inspect the silhouette, holes, and unwanted background shapes, then test the SVG in the Unity component and display sizes you intend to ship.
More from the blog

SVGZ vs SVG: Choose a File for Editing or Delivery
Compare SVGZ and SVG with a real gzip round trip. See what compression preserves, how web headers differ, and which file to send to an editor or recipient.
Sharp SVG to PNG: Size, Density, and Crisp Exports
Render SVGs to transparent PNGs at the final pixel size with Sharp. See a reproducible 1x and 2x test, when input density matters, and why upscaling a PNG fails.