Graphtec Studio 2 Image Trace: Fix Incomplete Paths
Fix partial traces, missing cut paths, small counters, and noisy contours in Graphtec Studio 2. Compare native tracing with a cleaner vector-first workflow.
On this page
Graphtec Studio 2 can trace a PNG, JPG, or other supported bitmap, but the first preview is only a proposal. If the yellow trace area stops halfway, a letter hole disappears, or the imported image has no cut path, check three things in order: what the job should cut, which pixels the trace includes, and whether the resulting paths still make sense at the final size.
The choice between Trace and Trace Outer Edge matters just as much as the threshold. The first can follow interior and exterior boundaries; the second is for one outside contour. If neither produces useful geometry from a flat logo, reconstructing the image as SVG first can be the cleaner route.
The short diagnosis
- A PNG on the canvas is still a raster reference. It needs a trace, or an imported vector file, before the cutter has paths to follow.
- If only part of the image turns yellow, reselect the full trace area and adjust the threshold while watching important gaps and counters.
- Use Trace Outer Edge for one label or sticker contour. Use Trace only when the inside boundaries should also become cut lines.
- Inspect the paths at the job's final physical size. Tiny islands, doubled strokes, and rough edges can look harmless while zoomed out.
- Flat logos and solid illustrations are good candidates for an external vector-first workflow. Photos and single-stroke line work need different methods.
First decide what should become a cut path
Two jobs can begin with the same imported image and require completely different geometry.
- Cut the artwork itself. A one-color vinyl logo needs boundaries around every shape that will remain, including intentional holes in letters such as A, B, O, P, and R.
- Print the image and cut around it. A printed label usually needs one deliberate outside contour. Tracing every color edge would create unwanted internal cuts.
Graphtec's official manual makes this distinction explicit. Its tracing section says to choose Trace for inside and outside edges, or Trace Outer Edge for only the outside cut line, and it recommends the outer-edge option for a label (Graphtec Studio 2 user manual).
Choose the intended result before changing settings. A complete trace of the wrong boundaries is still the wrong file.
Diagnose the symptom before retracing
| What you see | Likely cause | What to inspect first |
|---|---|---|
| The bitmap appears, but there is no cut path | The file is still raster artwork | Open the Trace panel or import genuine vector geometry |
| Only part of the design turns yellow | Trace area, threshold, faint contrast, or source damage excludes part of the artwork | Reselect the full area, then adjust threshold while watching the missing region |
| Holes inside letters disappear | The threshold bridges a small counter, or noise reduction treats it as expendable detail | Preserve the hole in the yellow preview and test it at final size |
| One drawn line becomes two cut lines | An outline trace follows both visible edges of a thick stroke | Use a centerline method or redraw one path if the job needs a single pass |
| Curves look rough or carry many tiny pieces | Compression, texture, shadows, or an over-detailed source became geometry | Clean the raster, simplify the design, and compare the paths rather than the filled preview |
| The outside contour looks good, but the cutter enters the artwork | Trace created internal paths that the job did not need | Retry with Trace Outer Edge or remove the unwanted internal contours |
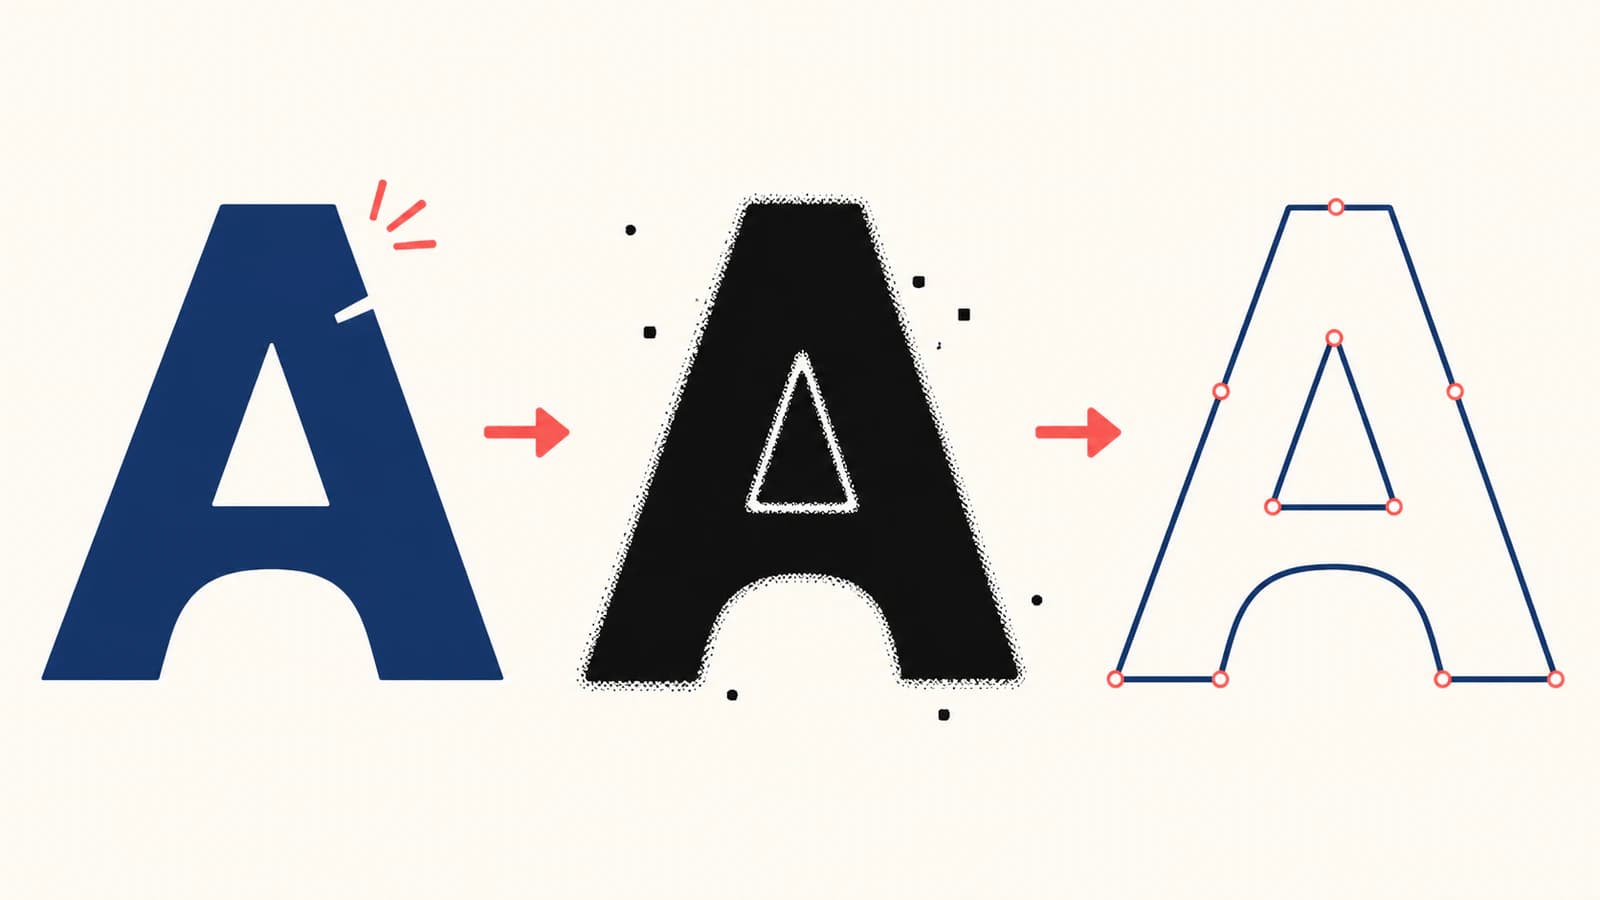
Run the native Graphtec Studio 2 trace
The current manual uses this sequence:
- Choose File > Merge and open the image.
- Set the image size and position if needed.
- Open Panels > Trace.
- Click Select Trace Area, then drag around everything that should be considered.
- Move the threshold control until the intended artwork is covered by the yellow preview.
- Choose Trace for the necessary inside and outside boundaries, or Trace Outer Edge for one outside contour.
Do not chase maximum yellow coverage at the cost of closing every small hole. Watch the preview as a cut-geometry map. A dust speck that turns yellow can become a tiny cut island; a pale counter that loses yellow may close completely.
Graphtec's current product page says Studio 2 can convert imported raster images into vector objects and includes noise reduction. It also lists path editing and imports for SVG, PNG, JPG, BMP, TIFF, and several vector formats (Graphtec Studio 2 features). That gives you two valid routes: tune the native raster trace, or prepare a vector elsewhere and import it for the cutter workflow.
Check the paths, not only the filled preview
A smooth colored preview can hide bad machine geometry. Switch to a view that exposes the outlines or nodes, then inspect the result as a route the blade will follow. In SVG, path data defines the geometry that is drawn; it is the path rather than the raster appearance that matters downstream (W3C SVG Paths).
Check these in order:
- Outer silhouette: no accidental notches, flat spots, or clipped sections.
- Counters and holes: every intentional opening remains open at final size.
- Duplicate edges: no stacked copy or narrow ring where one cut should occur.
- Small islands: every detached piece is large enough to cut and weed on the chosen material.
- Curve economy: points describe the shape without following JPEG stair-steps or dust.
- Closure: shapes meant to be filled or cut as regions have connected contours.
If a stroke should become one open score, pen, or engraving path, ordinary filled-region tracing is the wrong representation. The double-line SVG guide explains why tracing both sides of a thick mark creates two passes. Use centerline tracing or redraw the path for that job.
Compare native trace with a vector-first workflow
Native Graphtec tracing is the shorter route when the source is a clean, high-contrast silhouette or when the job needs one simple outside contour. It keeps the work in the same application and makes threshold changes easy to compare.
A vector-first workflow is worth testing when:
- a flat logo has several intentional colors or small counters;
- compression artifacts keep becoming extra contours;
- the threshold that restores one detail destroys another;
- curves need substantial point-by-point repair;
- you want to inspect and edit the SVG before assigning cutter operations.
PerfectVector fits that reconstruction branch. Upload the best logo source, inspect whether the preview preserves the silhouette, counters, and useful color shapes, then export only if the geometry suits the job. Graphtec currently lists SVG as a supported import format, so the resulting file can enter Studio 2 as vector artwork rather than as another bitmap to trace.
This route does not replace cutter setup. You still need to confirm scale, choose which colors or layers to cut, remove unwanted paths, and test the material. PerfectVector is also a filled-shape vectorizer, not a centerline tracer. Keep photos raster for print-and-cut unless you deliberately want a simplified illustration, and use a centerline tool when one drawn stroke must become one machine path.
For a wider vendor handoff, the sign-shop vector-file checklist covers outlined text, real vector checks, and delivery formats. The related SignMaster trace-or-import workflow is useful when you need to compare how another sign-cutting application handles the same source cleanup and path audit.
Test at the size and material you will use
Set the final physical dimensions before approving fine details. A counter that is easy to see on a monitor may become too small to weed. A narrow gap can close when the blade, material, pressure, and adhesive are involved.
Run a representative test that includes the hardest part of the design: the smallest letter, tightest counter, sharpest corner, and thinnest connection. Check the cut and weed result before duplicating the design or sending a full roll. Software preview cannot prove how a specific material and blade setup will behave.
If the trace carries too many points, use the SVG node troubleshooting guide before cutting. Simplification should remove accidental wobble without rounding intentional corners or deleting small but necessary shapes.
FAQ
How do I trace an image in Graphtec Studio 2? Choose File > Merge, open the bitmap, and set its size or position. Open Panels > Trace, click Select Trace Area, and drag around the intended artwork. Adjust the threshold until the yellow preview covers the shapes you need, then choose Trace for inside and outside boundaries or Trace Outer Edge for one outside contour.
Why does Graphtec Studio 2 trace only part of my image? First reselect the trace area so it covers the full image. Then adjust the threshold while watching the missing region, letter holes, and isolated details. If one setting cannot preserve the important shapes without adding noise, clean the source or test an imported vector reconstruction instead of forcing the threshold.
Why does my PNG have no cut path in Graphtec Studio 2? A PNG contains pixels, so placing it on the canvas does not create vector cut geometry. Use Graphtec Studio 2's Trace panel to create paths, or import a genuine vector file such as SVG. Afterward, inspect which paths are assigned to cut.
Should I use Trace or Trace Outer Edge? Use Trace when intentional interior and exterior boundaries should become paths, such as the shapes and counters in cut artwork. Use Trace Outer Edge when the job needs one contour around a printed label or sticker. Inspect the result because the correct command still depends on a clean source and suitable threshold.
When should I vectorize the logo before importing it? Try a vector-first workflow when a flat logo's small counters, curves, or color shapes keep breaking under the native threshold trace. Inspect the reconstructed SVG before import. Keep native tracing for clean silhouettes and simple outer contours, and use a centerline method for single-stroke work.
Sources
- Graphtec — Graphtec Studio 2 — Current auto-trace, noise reduction, path-editing, cut-output, and supported-import information.
- Graphtec — Graphtec Studio 2 User Manual — The native Merge, Trace area, threshold, Trace, and Trace Outer Edge workflow.
- Graphtec America — Graphtec Studio Tracing Bitmaps — Official visual orientation for the trace controls and bitmap workflow represented in the live SERP.
- W3C — SVG Paths — The path-geometry model used to explain why cutter-ready vectors must be inspected as paths.
If Graphtec Studio 2 keeps tracing pixel damage instead of the intended logo, reconstruct the artwork as editable vector shapes, inspect the SVG at final size, import it into Studio 2, and test the hardest detail before cutting the full job.
More from the blog

SignLab Vectorize Image: Trace or Import Clean SVG?
Compare SignLab's native vectorization with an imported SVG. Learn how to prepare the bitmap, inspect paths, preserve holes, and test a production-ready file.

Roland CutStudio Image Trace: Get Cleaner Cut Lines
Use Roland CutStudio Image Outline, diagnose jagged or doubled contours, and decide when a cleaner imported vector gives your cutter better geometry.