Sure Cuts A Lot Image Trace: Trace or Import SVG?
Choose Sure Cuts A Lot's native Image Trace or import a prepared SVG, then check layers, scale, doubled lines, path density, and the final cut preview.
On this page
- Trace or import: make the choice from the source
- Route 1: use Sure Cuts A Lot Trace Image
- Route 2: prepare and import an SVG
- Audit the actual cut geometry
- 1. Separate source pixels from cut paths
- 2. Check layers and color fragments
- 3. Confirm holes and internal shapes
- 4. Look for doubled outlines
- 5. Measure the imported size
- 6. Preview and make a representative test cut
- Common failures and the next move
- Where PerfectVector fits
- When another workflow is better
- Final checklist
- FAQ
- Sources
Use Sure Cuts A Lot's Trace Image tool when a simple raster source produces clear, understandable cut paths. Import a prepared SVG when you want to inspect the vector first, preserve useful shapes outside SCAL, or avoid fighting a noisy native trace. Neither route is automatically better.
The deciding step is the same for both: hide or move the source image, inspect the actual outlines, confirm physical size, and check the smallest detail before you cut. If your starting PNG or JPG needs an external vector pass, the image-to-vector workflow gives you a second version to compare.
The short answer
- Trace inside SCAL for a bold, high-contrast image when the first preview creates a small set of sensible outlines.
- Import an SVG when the source needs background cleanup, deliberate color separation, or an inspectable vector before it reaches SCAL.
- Keep the image raster when it is a photo or shaded print design. Cut paths cannot preserve continuous tone.
- Audit both routes the same way: layers, holes, doubled outlines, path density, scale, and the final cut preview.
Trace or import: make the choice from the source
Craft Edge's current File menu documentation separates these jobs. Import accepts vector artwork, including SVG. Trace Image creates vector outlines from raster artwork, while Place Image keeps common raster formats as images. (Craft Edge File menu)
| Source or symptom | Better first route | What to verify |
|---|---|---|
| Bold one-color icon or silhouette | Native Trace Image | One useful outline, no background box, smooth corners |
| Flat multicolor badge | Try both | Useful color layers, real holes, no tiny fragments |
| Transparent PNG | Native trace can use the alpha channel | The transparent edge becomes the intended boundary |
| Compressed JPG or noisy screenshot | Prepare an SVG first | Noise and color slivers are removed before import |
| Thick line that should cut once | Centerline or redraw workflow | The trace has not captured both visible edges |
| Photo or shaded illustration | Keep raster or simplify deliberately | The project needs print detail rather than cut regions |
Run the same source through both routes when the first result is hard to judge. Choose the version whose geometry is easier to understand, edit, and test at the intended size.
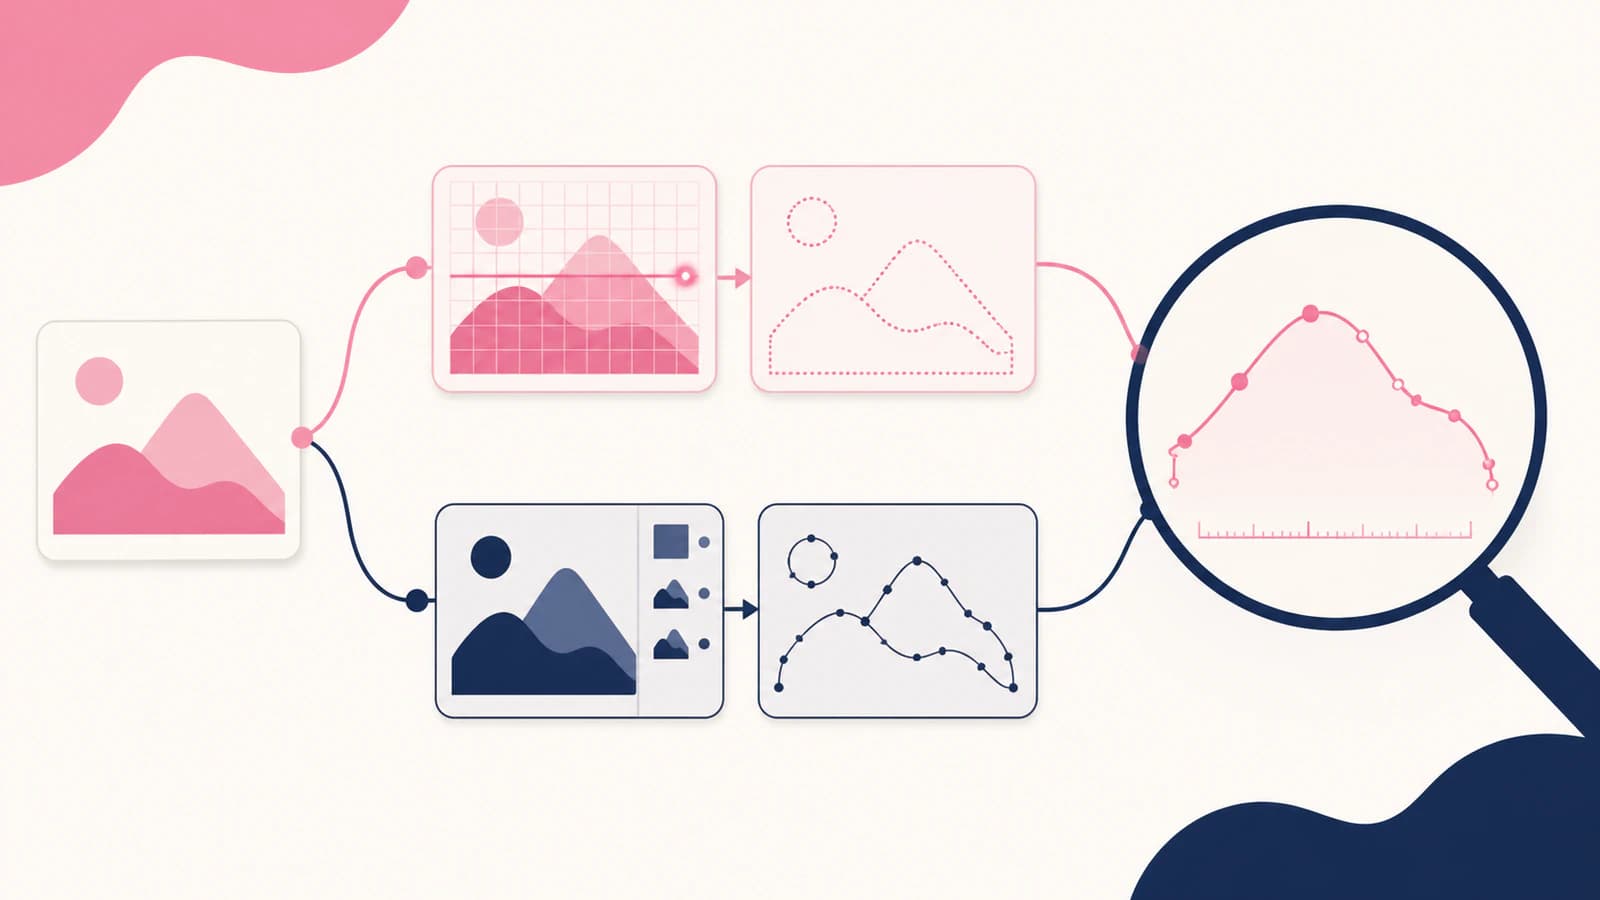
Route 1: use Sure Cuts A Lot Trace Image
Sure Cuts A Lot 6 opens Trace Image from the File menu or the Trace toolbar button. Its current help lists BMP, JPG, GIF, PNG, and TIFF as raster sources. The three main modes are Monochrome, Color layers, and Single Color. (Craft Edge Trace Image help)
A practical native workflow is:
- Crop unrelated content and start with the sharpest source you have.
- Open Trace Image and choose the raster file.
- Pick the mode that matches the job. Use Monochrome for a single thresholded silhouette, Color layers for a limited flat palette, or Single Color to isolate one sampled region.
- Adjust the controls in small steps, then use Update Preview. Despeckle removes tiny shapes, Smooth reduces sharp corners and jagged lines, and Detail controls how much small structure remains.
- Use the alpha-channel option when a PNG already has the transparent boundary you want.
- Accept the trace only when the preview contains the intended regions without obvious dust, gaps, or color slivers.
The current help also lists Single Line Threshold to help reduce some double lines. Treat that as a control to test, not a guarantee that every thick stroke becomes one useful centerline. If a drawn line still produces two boundaries, the double-line diagnosis explains when you need centerline geometry or a redraw.
Route 2: prepare and import an SVG
The external route moves vector preparation before SCAL. Convert or redraw the source, inspect its shapes in a vector-aware preview or editor, then use File > Import to bring in the SVG. Craft Edge currently lists SVG among the File menu's supported vector imports. (Craft Edge File menu)
This route is useful when:
- the background or JPG artifacts become trace fragments;
- colors need deliberate separation before the cutter workflow;
- you want to inspect paths and holes outside SCAL;
- the same SVG needs to remain editable for another destination;
- repeated native adjustments still produce awkward layers.
An .svg extension does not make a file cut-ready. SVG paths describe geometry through commands and subpaths, so you still need to inspect which boundaries the file contains. (W3C SVG Paths) A tidy thumbnail can hide doubled outlines, a full-canvas background shape, or tiny fragments.
Audit the actual cut geometry
Apply the same checks to the native trace and the imported SVG. The preview is only the start.
1. Separate source pixels from cut paths
Move, hide, or lock the original image layer so only the generated or imported geometry remains. If the visible art disappears with the raster, you have not confirmed the paths yet.
For Print+Cut, the current Trace Image help documents an Add Image Layer option that places a copy of the image beneath the traced outline. That can be intentional. Keep the printed pixels and the boundary conceptually separate so you know what the blade follows.
2. Check layers and color fragments
Craft Edge documents Break Apart Outlines as a way to place each outline path on a separate layer. That can make inspection easier, but it can also reveal how many fragments the trace created. Keep only regions that serve the project.
If a simple two-color design becomes many nearly identical layers, return to the source or tracing controls instead of organizing every fragment by hand. Use the too-many-nodes and path-density checklist when a curve is hard to inspect or edit.
3. Confirm holes and internal shapes
Letters, rings, and enclosed shapes depend on real empty regions. The Trace Image help says Blackout removes internal shapes or outlines. Use it only when the job needs a solid silhouette. If the design needs counters or holes, inspect those regions after tracing rather than assuming the preview preserved them.
4. Look for doubled outlines
A thick raster stroke has two visible edges. A filled-region trace may follow both and produce a narrow closed shape. That is correct when you want to cut out the full thick region, but wrong when the machine should draw, score, or cut one path down the middle.
Zoom in and decide what the blade should follow. Do not judge only by the filled appearance.
5. Measure the imported size
Set one known width or height and keep related pieces grouped while resizing. A one-inch reference or another known dimension is more reliable than dragging until the artwork looks right. Confirm the final physical size after import, especially when the file moves between applications.
6. Preview and make a representative test cut
Check the cutting preview or cut-line view available for your setup. Look for stray contours beyond the design, missing holes, duplicate boundaries, and tiny pieces that will be difficult to weed. Then test a small version or the most demanding detail on scrap material.
The file cannot choose blade condition, material, pressure, or mat grip. A test cut checks the prepared geometry together with the physical setup.
Common failures and the next move
| What you see | Likely cause | Next move |
|---|---|---|
| Too many layers | Color segmentation captured noise or small tonal changes | Reduce colors, raise cleanup, or prepare the source before tracing |
| Jagged curves | Low-resolution edges or too much retained detail | Try re-sample and smoothing, or start from a cleaner source |
| One line cuts twice | Both edges of a thick stroke became an outlined shape | Use a centerline workflow or redraw the intended path |
| Holes fill in | Blackout removed internal shapes or the path structure is wrong | Restore the internal geometry and inspect the compound shape |
| A rectangle surrounds the design | The background became a traced shape | Preserve transparency or remove the background before tracing; see the transparent-background guide |
| Imported SVG has tiny fragments | The vector was already noisy before import | Clean or recreate the SVG, then repeat the audit |
| Photo becomes patchy regions | Continuous tone was forced into flat cut shapes | Keep a print workflow or simplify the art intentionally |
Where PerfectVector fits
PerfectVector fits before Sure Cuts A Lot when the source is a suitable flat PNG or JPG and you want an SVG you can inspect before import. Upload the source through the SVG for cutting workflow, review the reconstructed shapes, download the SVG if it suits the job, and import it into SCAL.
This does not replace Trace Image when the native result is already simple. It also does not decide cutter settings or prove the file will work in every material. Its role is to give you another vector route to compare before the same geometry audit and test cut.
When another workflow is better
- Import the original SVG when the designer supplied one. Retracing a raster preview usually discards useful structure.
- Keep photographs and shaded artwork as raster images for print work unless you intentionally want a simplified posterized result.
- Use a centerline tool or redraw for single-stroke paths.
- Redraw exact lettering or brand marks when automatic tracing changes important shapes.
- Start with a better scan or image when the only source is tiny, blurred, or heavily compressed.
The broader pre-cut SVG audit is useful after either route, especially when you also need to check hidden raster content, stray boxes, node burden, and file structure outside SCAL.
Final checklist
- The source suits vector cutting rather than continuous-tone printing.
- Native trace and imported SVG were compared when the first result was unclear.
- Only intended layers and shapes remain.
- Holes and counters are real empty regions.
- Single lines have not become accidental doubled outlines.
- Background shapes, dust specks, and color slivers are gone.
- Curves have inspectable path density.
- Width and height match the intended project size.
- The cut preview contains only the geometry you expect.
- A representative scrap test passes before the final material is loaded.
FAQ
Can Sure Cuts A Lot trace a PNG or JPG? Yes. Sure Cuts A Lot 6 documents Trace Image support for BMP, JPG, GIF, PNG, and TIFF raster images. Choose a mode, update the preview, and inspect the generated outlines before cutting.
Should I trace a PNG in SCAL or import an SVG? Trace inside SCAL when a simple source produces understandable paths quickly. Import a prepared SVG when you need background cleanup, deliberate color separation, or an inspectable vector before SCAL. Compare both with the same geometry audit when the first result is uncertain.
Why does Trace Image create so many layers? Color segmentation may be capturing small tonal changes, compression noise, or background detail as separate regions. Reduce the color count, adjust cleanup controls, remove the background, or prepare the source before tracing again.
Why does one line cut twice after tracing? A filled-region trace can follow both visible edges of a thick raster stroke and create a narrow closed shape. Use centerline geometry when you want one drawn, scored, or cut path. Keep the outlined region only when the whole thick shape should be cut out.
Can Sure Cuts A Lot import SVG files? Yes. Craft Edge's current File menu help lists SVG among the vector artwork formats available through Import. Check layers, physical size, holes, doubled outlines, and path density after import instead of relying on the file extension alone.
Sources
- Craft Edge — Sure Cuts A Lot 6 Trace Image help — Current raster formats, tracing modes, cleanup controls, alpha-channel behavior, and outline options.
- Craft Edge — Sure Cuts A Lot 6 File menu help — Current distinction among vector Import, raster Trace Image, and Place Image, including SVG import.
- GCC — Trace Images through Sure Cuts A Lot — Cutter-vendor walkthrough of the basic monochrome, color-layer, and single-color trace workflow.
- W3C — SVG Paths — The path and subpath model behind the geometry a cut-file audit must inspect.
If native tracing leaves fragments or awkward layers, prepare the same source as an SVG for cutting, import it, and approve it only after the shared geometry audit and a representative test cut.
More from the blog

SignLab Vectorize Image: Trace or Import Clean SVG?
Compare SignLab's native vectorization with an imported SVG. Learn how to prepare the bitmap, inspect paths, preserve holes, and test a production-ready file.

Roland CutStudio Image Trace: Get Cleaner Cut Lines
Use Roland CutStudio Image Outline, diagnose jagged or doubled contours, and decide when a cleaner imported vector gives your cutter better geometry.