Preview an SVG on a Cricut Mat Before Cutting
Check an SVG's physical size and prepared footprint against a usable mat area, then verify material mats, mirroring, and placement in Design Space.
On this page
- A mat preview has four different boundaries
- Step 1: check whether the SVG is measurable
- Step 2: confirm the physical size
- Step 3: choose a mat and reserve a margin
- Step 4: adjust scale, rotation, and preparation guides
- Step 5: download the prepared SVG
- Step 6: run Cricut's Prepare-screen preview
- When to use SnapMat
- Final pre-cut checklist
- FAQ
- Sources
Preview an SVG twice before cutting. First, compare its measured, prepared footprint with a conservative usable mat area. Then use Cricut Design Space's Prepare screen to verify material-color mats, mirroring, copies, and final placement. The first check catches size and padding problems; the second reflects Cricut's actual project setup.
A green “Fits” result is useful, but it is not a machine guarantee. Your margin, material placement, machine clearance, and registration method still decide whether the physical cut succeeds.
The two-preview workflow
- Confirm the SVG's real physical width and height; do not trust screen zoom.
- Choose the actual mat dimensions and reserve a safe margin for your workflow.
- Count scale, rotation, weeding-box padding, and corner-guide padding in the prepared footprint.
- Download the prepared SVG only after its geometry fits the chosen usable area.
- Upload it to Design Space and review the Prepare screen before sending it to the machine.
- Mirror iron-on or Infusible Ink mats where Cricut's project instructions require it.
- Use SnapMat on iOS when placement over a specific physical scrap matters.
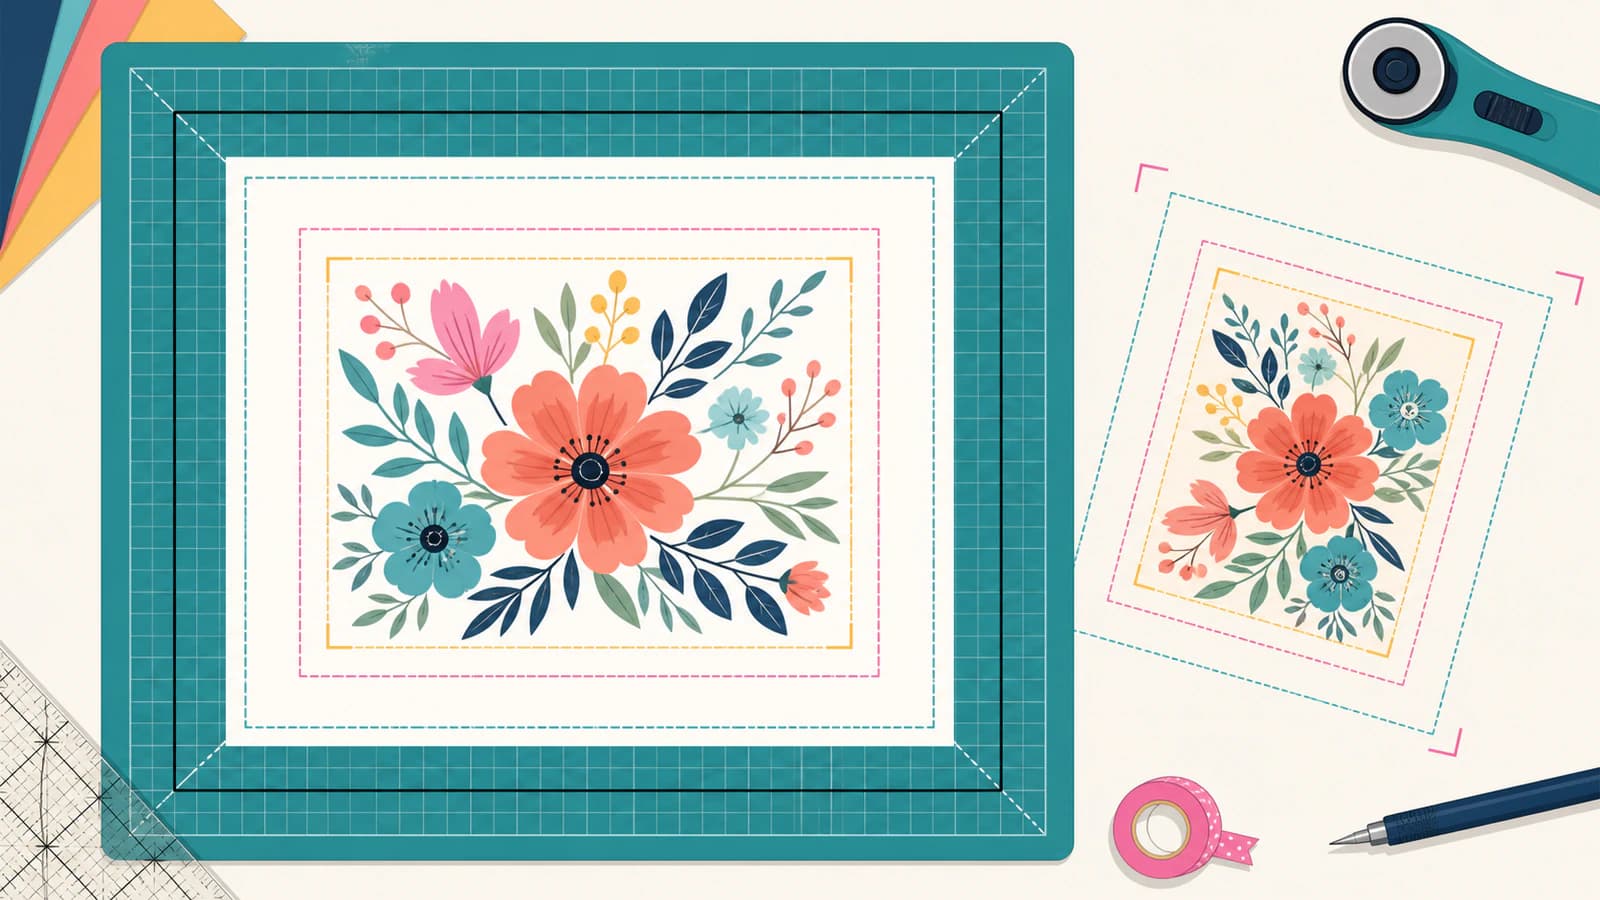
A mat preview has four different boundaries
The SVG's artwork may be 8 × 6 inches, but that does not mean the prepared cut occupies exactly 8 × 6 inches.
- Artwork bounds are the visible shapes after scale and rotation.
- Guide padding is extra space around an optional weeding box or generic corner guides.
- Prepared footprint combines the artwork and selected guide padding.
- Usable mat area is the selected mat size minus the safety margin you reserve.
The prepared footprint must fit inside the usable area. The physical mat itself is the outer boundary, not automatically the safe cutting boundary.
Step 1: check whether the SVG is measurable
Open PerfectVector's free SVG Mat Preview and choose an SVG up to 5 MiB. The tool checks the document locally before it displays a physical-size result or prepared download. The SVG content, filename, preview settings, and generated file stay in the browser.
The current version expects finished filled shapes. Basic paths, rectangles, circles, ellipses, and polygons are the strongest fit. It accepts solid fills and shape transparency when the document has a saved physical size or a viewBox you can size by entering one dimension.
Processing stops when a feature could change the visible footprint but cannot be preserved safely. Prepare the file first if it contains live text, visible strokes that are not outlined, gradients, patterns, shadows, blur, clipping, masks, linked images, external resources, scripts, CSS styling, or deeply nested/damaged structure.
This is deliberately stricter than asking whether a browser can display the SVG. A mat planner needs reliable geometry, not merely a plausible picture.
Step 2: confirm the physical size
If the SVG stores a reliable width and height, compare them with the final project. If it only has a viewBox, enter one known physical dimension and let the other scale proportionally.
Do not infer inches from how large the design looks on your monitor. Browser zoom, CSS layout, and Design Space's Canvas view are not physical rulers. Use the dimensions specified by the project or measure the destination surface.
Before continuing, ask:
- What is the final width or height on the finished item?
- Does the design include multiple color layers that must remain registered?
- Is the material a full sheet, a scrap, heat-transfer vinyl, cardstock, or something else?
- Will you add a weeding box, alignment guides, or other preparation geometry?
For a multi-layer project, keep every layer at the same scale. If you need one file per color, separate the exact colors on a shared artboard before planning material use.
Step 3: choose a mat and reserve a margin
Select a preset mat or enter custom dimensions that match what you will actually load. Then reserve a safe margin. The tool subtracts that margin from the outer mat to create the usable comparison area.
There is no universal margin that guarantees every Cricut, material, and operation. Use a conservative value based on the machine, mat condition, material adhesion, and any operation-specific clearance. The preview intentionally keeps this a user choice.
If you plan to place the design on a scrap rather than a full sheet, enter the scrap's usable dimensions as a custom area or continue to SnapMat for physical positioning later.
Step 4: adjust scale, rotation, and preparation guides
The Mat Preview lets you keep the source scale or choose a new one, rotate by 90 degrees, add guide padding, and optionally include a generic weeding box or corner guides.
Change one variable at a time:
- Test the intended scale with no extra guides.
- Rotate 90 degrees and compare the bounding width and height.
- Add the real guide padding you plan to cut.
- Check whether the final prepared footprint still fits inside the usable area.
Rotation does not make the design smaller. It swaps how its bounding dimensions use the mat. A tall, narrow design may fit after rotation while keeping the same scale.
The tool preserves your chosen scale even when the result is too large. That makes the failure visible instead of silently shrinking a project that was supposed to be a specific size.
Step 5: download the prepared SVG
When the fit and settings are correct, download the prepared SVG locally. The file contains the measured artwork and the preparation geometry you selected. The preview's mat grid is not included.
Generic corner guides are not Cricut Print Then Cut registration marks. Do not use them as a substitute for the machine's registration workflow. They are simple vector marks for an intentional craft or alignment method that you control.
You may still download a prepared design that does not fit, but the warning should remain part of your decision. A download is not approval to cut.
The Mat Preview requires no account or credits. It is separate from the raster-to-vector converter; if you need to create an SVG from a PNG or JPG first, that conversion has its own preview and download model.
Step 6: run Cricut's Prepare-screen preview
Upload the prepared SVG to Design Space and add it to the Canvas. Cricut's SVG upload guide says layered vector images arrive grouped and can be ungrouped; it also documents a 5,000-path SVG restriction.
Make your Canvas decisions before the mat screen. Keep relative pieces attached when they must stay together, assign the intended operation, and confirm the project dimensions.
Then select Make It. Cricut's Prepare screen guide calls this the final project preview before sending work to the machine. Design Space places elements on different mats based on operation and material color, while attached elements stay together according to Canvas choices.
On the Prepare screen, verify:
- the number of mats and their material colors;
- material load type and material size;
- copies and hidden objects;
- the placement and rotation of objects on each mat;
- mirroring for iron-on or Infusible Ink projects;
- that no automatic arrangement broke intentional registration.
The external fit check does not replace this screen. It gives you a measured source and prepared footprint to take into it.
When to use SnapMat
If you need to target a specific scrap or area on a physical mat, Cricut's SnapMat for iOS photographs the material on the mat so you can visualize image and text placement.
Use it after your SVG size is correct. Keep the device parallel and the mat well lit, then treat the photograph as a placement aid rather than exact metrology. Do not substitute it for Print Then Cut calibration or registration marks.
Desktop users can move objects on the Prepare screen, but they do not get the same photo-of-the-physical-mat view.
Final pre-cut checklist
- The SVG contains real filled paths, not pixels or unsupported live features.
- Physical dimensions match the finished project.
- Prepared footprint includes the guides you will actually cut.
- The selected margin reflects the material and machine workflow.
- Every color and operation appears on the expected mat.
- Heat-transfer or Infusible Ink mats are mirrored when required.
- Small details and thin bridges are practical at the final size.
- A test cut uses scrap or inexpensive material before the production sheet.
For geometry checks beyond fit, use the five-minute SVG preflight. It covers embedded pixels, doubled paths, node bloat, hidden rectangles, and path limits.
FAQ
Can I preview an SVG on a Cricut mat before opening Design Space? Yes. PerfectVector's free SVG Mat Preview can compare a supported SVG's prepared footprint with a preset or custom usable mat area. You should still use Design Space's Prepare screen before sending the project to the machine.
Does a Fits result guarantee the SVG will cut? No. It is a geometric comparison against the dimensions and margin you selected. Machine clearance, material placement, registration, operation settings, mat condition, and file complexity still need verification.
What if my SVG has no width or height in inches? If it has a valid viewBox, enter one known physical dimension. The other dimension scales proportionally. Confirm the result against the finished project's required size.
Should I mirror the SVG in the Mat Preview? No mirroring control is needed in this preflight. Use Cricut Design Space's Prepare screen to mirror mats for iron-on or Infusible Ink projects according to Cricut's workflow.
Are the downloaded corner guides Print Then Cut marks? No. They are generic vector corner guides. They are not Cricut registration marks and do not replace Print Then Cut calibration or registration.
Sources
- PerfectVector — SVG Mat Preview — Current local fit-check, physical-size, preparation, compatibility, privacy, and download contract.
- Cricut — Prepare screen: Design Space Guide — Current final-preview, material-mat, mirror, move, and rotate behavior.
- Cricut — SnapMat in Design Space for iOS — Current physical-mat photo and placement workflow.
- Cricut — How to upload images into Design Space — Current vector upload, grouped-layer behavior, and SVG path restriction.
Check the geometry before the machine workflow: open the free SVG Mat Preview, confirm the real size and prepared footprint, download locally, then verify the result again on Cricut's Prepare screen.
More from the blog
Mimaki FineCut Image Trace: Build Cleaner Cut Paths
Compare FineCut Outline Extraction with an imported SVG, then check duplicate paths, holes, scale, and the final contour before sending a print-and-cut job.

SignLab Vectorize Image: Trace or Import Clean SVG?
Compare SignLab's native vectorization with an imported SVG. Learn how to prepare the bitmap, inspect paths, preserve holes, and test a production-ready file.