Mimaki FineCut Image Trace: Build Cleaner Cut Paths
Compare FineCut Outline Extraction with an imported SVG, then check duplicate paths, holes, scale, and the final contour before sending a print-and-cut job.
On this page
- Choose the path the job needs
- What Outline Extraction and Frame Extraction create
- Outline Extraction builds trace geometry
- Frame Extraction builds the contour around prepared art
- Existing vector paths can become cut data
- Compare a native trace with a clean SVG
- Route A: trace inside FineCut
- Route B: prepare an SVG first
- Audit the final cut geometry
- Find duplicate and doubled boundaries
- Preserve holes and reject accidental islands
- Confirm size before judging detail
- Check visible boundaries, layers, and preview
- What this looks like with PerfectVector
- When tracing is not the fix
- FAQ
- Sources
Mimaki FineCut gives you two related commands that solve different problems. Use Outline Extraction when raster artwork needs vector paths. Use Frame Extraction when the artwork is ready and the print-and-cut job needs one deliberate contour around it. If a native trace follows compression noise, soft edges, or too much interior detail, prepare a cleaner SVG first, open it in Illustrator, and create or assign only the path the plotter should follow.
Whichever route you choose, inspect the actual paths instead of relying on the filled preview. One hidden duplicate, a missing hole, or an extra interior boundary can turn an attractive design into the wrong cut job.
The FineCut path decision
- Use Outline Extraction to convert suitable raster regions into editable trace paths.
- Use Frame Extraction to create an outer contour, offset border, or selected interior cutout around existing artwork.
- Use an imported SVG when it gives you cleaner source shapes than FineCut's raster trace.
- Keep artwork paths and the final cutting path conceptually separate, even when FineCut creates the cut layer for you.
- Verify duplicates, holes, physical size, layer assignment, and preview before output.
Choose the path the job needs
"Trace the image" is too vague for print-and-cut work. Decide what the cutter should do before choosing a command.
| Production goal | Geometry you need | Better starting route | Common mistake |
|---|---|---|---|
| Cut the individual shapes in a flat design | Closed paths around each shape and intentional hole | Outline Extraction or a clean imported SVG | Tracing shadows and JPEG halos as extra pieces |
| Print the artwork and cut around it | One deliberate outer contour, with an offset if needed | Frame Extraction after the artwork is ready | Sending every decorative path to Cut |
| Cut interior holes as well as the outer edge | Outer frame plus selected hollow areas | Frame Extraction with interior extraction checked | Filling letter counters or badge holes |
| Draw, score, or cut one single stroke | One centerline path | Centerline trace or manual redraw | Using a filled-region trace that follows both sides of the stroke |
| Keep a photograph's tonal detail | Printed raster plus one outer contour | Keep the image raster and create a frame | Turning tones into a large set of cut shapes |
Outline Extraction answers, "Where are the visible regions in this raster?" Frame Extraction answers, "Where should the plotter cut around this prepared object?" A successful outline trace is not automatically the correct print-and-cut contour.
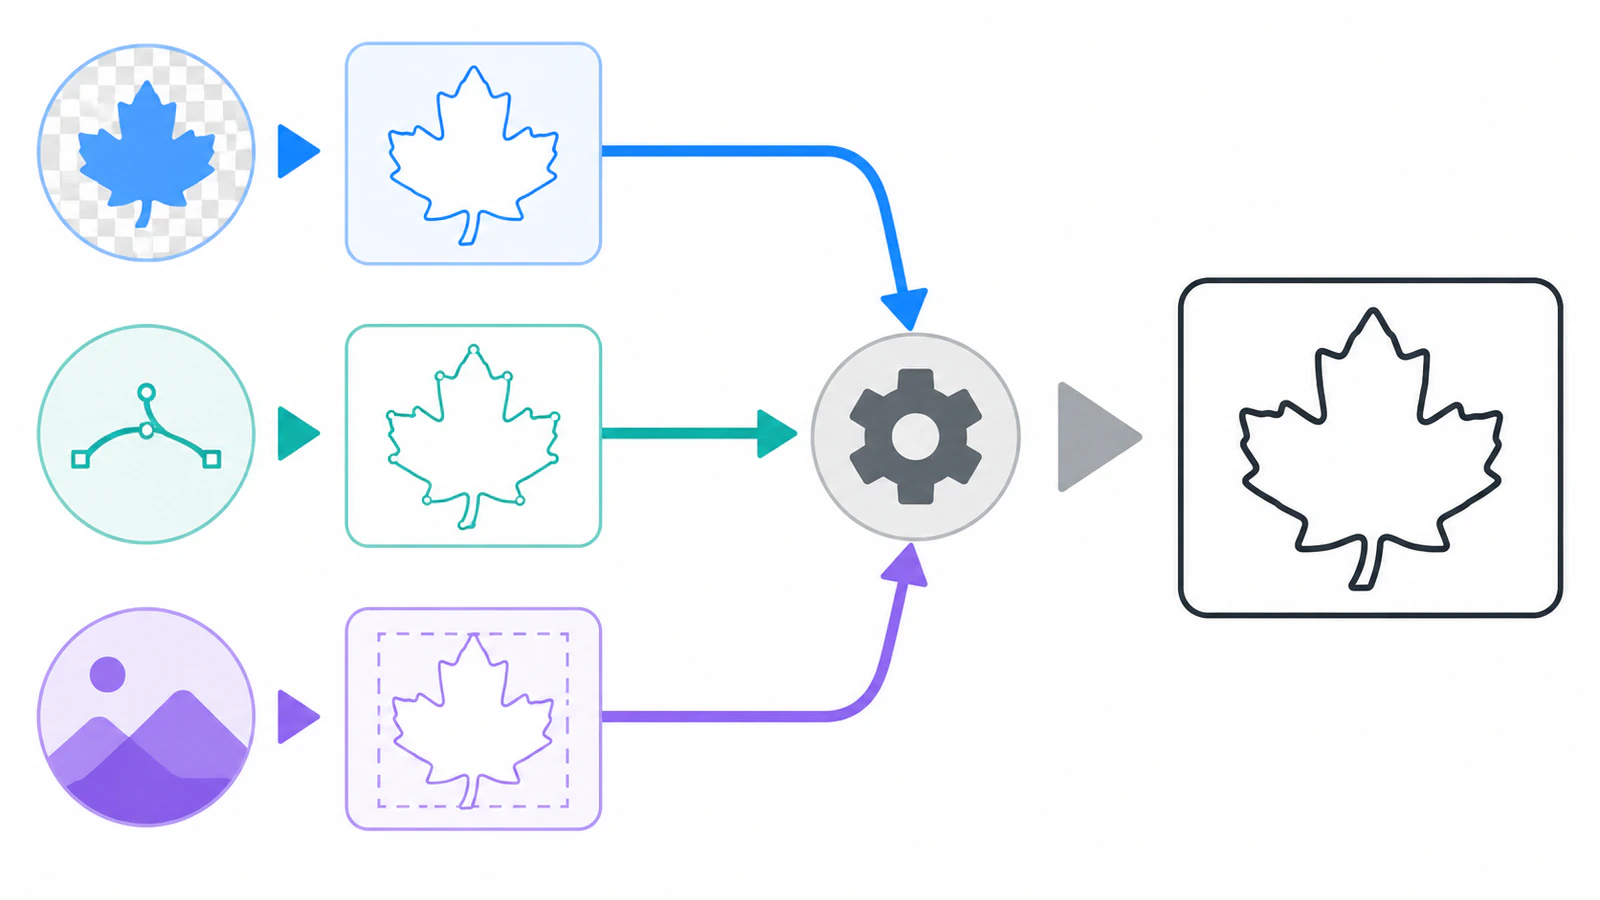
What Outline Extraction and Frame Extraction create
Mimaki's current FineCut/Coat9 feature page lists Contour extraction for raster data without paths and Frame extraction for automatically creating a cut line around an object. The version 4.2 reference guide uses the menu labels Outline Extraction and Frame Extraction and shows where each result goes.
Outline Extraction builds trace geometry
The reference guide describes a simple trace and a detailed trace. In the simple route, you select the raster object, open Outline Extraction, adjust the tracing area while watching the preview, and run Trace execute. FineCut creates a new FC Trace Layer. Detailed settings let you target a particular color or area.
That layer contains paths inferred from visible pixels. It can be useful for a clean silhouette or flat color design, but it can also preserve details the blade should ignore. Zoom into the paths after tracing and look for small islands, notches caused by pixel noise, and closed bands where you wanted one stroke.
Frame Extraction builds the contour around prepared art
Frame Extraction starts from selected artwork. The reference guide lets you set an offset and corner join, and choose whether to extract inside hollow areas. FineCut creates a new FC Frame Layer, which is set as non-printing by default because it is cutting data.
This is usually the cleaner route for a printed decal that needs one outside boundary. Use the artwork for appearance and the frame for the plotter instruction. Turn on interior extraction only when those holes should genuinely be cut.
Existing vector paths can become cut data
The same guide documents Move to the Cut Layer for an existing selected path. It creates an FC Cut Layer and moves the chosen path into it. That makes an imported vector master a practical alternative to tracing the raster again: open the SVG in Illustrator, inspect its shapes, select the intended cutting path, and move or frame that path according to the job.
Do not treat "vector" as a pass. An SVG may still contain duplicate paths, excessive detail, embedded pixels, or shapes that belong to the artwork rather than the cut operation. The pre-cut SVG checklist covers those file-level checks.
Compare a native trace with a clean SVG
Use the same source image and the same target size for both routes. Changing the crop, resolution, or dimensions makes the comparison less useful.
Route A: trace inside FineCut
- Start with the sharpest available source and remove accidental background, shadows, and compression specks.
- Select the raster in Illustrator and open Outline Extraction.
- Run the simple trace first. Adjust the tracing area only until the important silhouette and holes are present.
- Use detailed tracing only when a specific color or region needs separate geometry.
- Inspect the new
FC Trace Layerin outline view. Count problems, not merely paths: duplicates, islands, missing holes, doubled stroke edges, and rough curves. - Set the intended physical size and check the smallest important feature again.
This route is efficient when the source already has clean edges and the result needs only light correction.
Route B: prepare an SVG first
- Reconstruct the suitable raster as editable shapes. For flat logos and illustrations, PerfectVector's image-to-vector workflow provides a browser route to an SVG master.
- Open the SVG in Illustrator and confirm that the artwork is made of useful paths. Check colors, holes, overlaps, and the canvas bounds.
- Remove any shapes that should print but should not cut, or keep them on a separate artwork layer.
- Select the intended path and use Move to the Cut Layer, or use Frame Extraction when the job needs an offset contour around the prepared artwork.
- Keep the SVG master separately from the FineCut job file so later production changes do not destroy the reusable artwork.
An external vector route earns its extra step when the native trace keeps copying damaged pixels or when you want a reusable master for other production tools. Stay with FineCut when its trace already produces simple, correct geometry.
Audit the final cut geometry
Inspect the FineCut layer that will actually be output, not a hidden draft or artwork layer.
Find duplicate and doubled boundaries
Hide or move one candidate path at a time. If an identical copy remains, delete the duplicate or remove it from the cut operation. If two lines follow opposite sides of one thick raster stroke, that is an outline-tracing problem, not two stacked copies. The double-line diagnosis explains when you need a centerline method instead.
Preserve holes and reject accidental islands
Check counters in letters such as A, B, D, O, P, and R, plus holes inside icons and badges. Frame Extraction can include inner areas, but the option should match the product. A sticker may need only the perimeter, while a cut-vinyl design may need every intended counter.
Remove isolated specks and tiny fragments that came from texture or compression. Do not remove a small shape merely because it is small on screen. Judge it at final physical size and against the material and process.
Confirm size before judging detail
Set the output dimensions before approving narrow gaps, corners, and holes. A feature that survives at poster size may close or tear at decal size. If the job has a known dimension, measure it in Illustrator and recheck it in the FineCut preview.
Check visible boundaries, layers, and preview
The current reference guide says Outline Extraction and Frame Extraction automatically create cutting layers. That convenience does not decide whether each path belongs there. Confirm that printed artwork is not accidentally assigned to cut and that a guide or offset is not sharing the same operation as the final contour.
Mimaki's legacy FineCut8 feature page describes a cutting preview that exposes the start position, cutting line, direction, and order. Use the preview available in your installed version to look for repeated passes, unexpected interior cuts, and a path that starts somewhere risky.
What this looks like with PerfectVector
PerfectVector fits before FineCut when a suitable flat raster needs cleaner editable shapes. Compare the browser-generated SVG with FineCut's native trace, then keep whichever geometry better preserves the intended silhouette and holes without unnecessary paths. This is a source-artwork decision, not proof that the cut is ready.
If you already have a supported opaque filled SVG and need its visible outer and inner edges as strokes, the SVG Cut Line Generator can prepare those boundaries locally and remove duplicate shared edges. Open the downloaded SVG in Illustrator, inspect the result, then move only the intended path into the FineCut cut layer. It does not create a centerline through thick strokes, set offsets for your material, or replace FineCut's print-and-cut preview.
Use PerfectVector to rebuild suitable artwork as vector shapes, the cut-line generator to derive visible boundaries when needed, and FineCut for Mimaki-specific layers, registration, preview, and output.
When tracing is not the fix
- Use a centerline tracer or manual redraw when a single drawn stroke must become one toolpath. Filled-region tracing in FineCut, Illustrator, or PerfectVector can describe both visible sides of that stroke. Adobe's current Image Trace options explicitly distinguishes filled regions from stroked paths.
- Keep a photo as printed raster artwork when its continuous tones matter. Create one outer frame instead of turning tonal regions into cutting paths.
- Use manual reconstruction when the only source is too small, damaged, or ambiguous for any automatic trace to recover the intended design.
- Diagnose registration and machine settings separately when the contour is correct on screen but shifts, repeats, or cuts poorly on material. Blade condition, pressure, speed, offset, mark detection, and calibration do not become correct because the SVG is clean.
Run a representative test that includes the tightest corner, smallest hole, and narrowest gap. The preview can reveal geometry mistakes, but the material test decides whether the production setup works.
FAQ
How do I trace an image in Mimaki FineCut? Select the raster object in Illustrator, open FineCut's Outline Extraction command, run the simple trace, and adjust the tracing area while checking the preview. FineCut creates an FC Trace Layer. Use detailed tracing only when you need to target a specific color or area, then inspect the paths before output.
What is the difference between Outline Extraction and Frame Extraction? Outline Extraction converts visible raster regions into trace paths. Frame Extraction creates a cut line around selected, prepared artwork and can add an offset or include interior holes. Use the first to reconstruct shapes and the second to define a deliberate print-and-cut contour.
Can I use an SVG with FineCut? FineCut works inside Illustrator, so open the SVG there and inspect its paths first. Select the intended cutting path and move it to a FineCut cut layer, or create a frame around the prepared artwork. Check the reference guide for your installed version before output.
Why does FineCut cut the same line twice? The file may contain two stacked copies, an extra frame or offset assigned to the same operation, or a thick stroke traced as a closed band with two visible edges. Hide paths one at a time to identify the case. Use a centerline workflow when the job needs one path through a stroke.
Should I vectorize the image before using FineCut? Use a vector-first route when a suitable flat raster produces noisy contours, damaged curves, or more cleanup than a clean SVG master. Keep FineCut's native trace when it already gives simple, correct paths. Photos and single-stroke drawings usually need a different workflow.
Sources
- Mimaki Engineering — FineCut/Coat9 features — Current first-party definitions of Frame Extraction and Contour Extraction.
- Mimaki Engineering — FineCut/Coat9 Reference Guide — Version 4.2 procedures for Outline Extraction, Frame Extraction, FC layers, and moving existing paths to a cut layer.
- Mimaki Engineering — FineCut/Coat9 for Illustrator — Current product role and Illustrator plug-in context.
- Adobe — Image Trace panel options — Current distinctions among fills, strokes, path fitting, noise, and editable trace output.
If the artwork is already a supported filled SVG, generate its visible cut-line strokes, inspect duplicates and holes in Illustrator, and send only the intended boundary through FineCut's preview and a small material test.
More from the blog

Roland CutStudio Image Trace: Get Cleaner Cut Lines
Use Roland CutStudio Image Outline, diagnose jagged or doubled contours, and decide when a cleaner imported vector gives your cutter better geometry.

SignLab Vectorize Image: Trace or Import Clean SVG?
Compare SignLab's native vectorization with an imported SVG. Learn how to prepare the bitmap, inspect paths, preserve holes, and test a production-ready file.