FlexiSIGN Image Trace: Compare Cleaner Paths
Learn when to use FlexiSIGN's native bitmap vectorizing tools, when to import a cleaner SVG, and how to audit nodes, colors, counters, and cut contours.
On this page
FlexiSIGN includes several ways to turn bitmap artwork into paths. The useful question is not whether Flexi can vectorize an image, but which route leaves you with the fewest repairs before printing or cutting. Start with the native trace for clean, simple art. Switch to a vector-first workflow when small counters, color regions, or curve quality keep failing.
Choose by output, not by habit
- One-color silhouette: try the native black-and-white trace first.
- Flat color logo: use a color trace or import a reconstructed SVG, then compare layer separation and node count.
- Small, blurred, or gradient-heavy mark: find a better source or redraw it. More settings cannot restore missing design detail.
- Single-line artwork: use a centerline method when the output must remain one stroke rather than a filled outline.
What Flexi's vectorizing choices are for
SA International's Vectorizing Bitmaps guide lists multiple approaches rather than a single universal trace. Black-and-white and color artwork call for different decisions, and manual Bezier construction remains useful when automatic edges are not trustworthy.
That variety matters in sign work. A quick outer contour for a large decal is a different job from rebuilding a multicolor brand mark whose counters, curves, and color separations must remain clean at storefront size.
Route 1: trace inside FlexiSIGN
Use the native route when the source is already close to production art:
- Start from the largest, sharpest logo file available.
- Crop away unrelated pixels and make the background unambiguous.
- Choose a black-and-white or color-oriented trace that matches the artwork.
- Preview the result at the final sign size, not only at screen size.
- Separate the trace from its bitmap and inspect the paths alone.
The correct setting is the one that preserves the intended holes and boundaries without generating extra fragments. If a small letter counter closes up, lowering detail everywhere may damage the rest of the mark. At that point, repair the local shape or try a cleaner source.
Route 2: create the vector before import
A vector-first workflow is useful when repeated native traces produce lumpy curves, too many nodes, stray color islands, or damaged small lettering. For a suitable flat logo, vectorize the logo with PerfectVector, compare the reconstructed color shapes with the reference, and import the SVG into a fresh Flexi document. If the job will move between production-sign tools, the SignLab trace-or-import workflow uses the same-source comparison before output assignment.
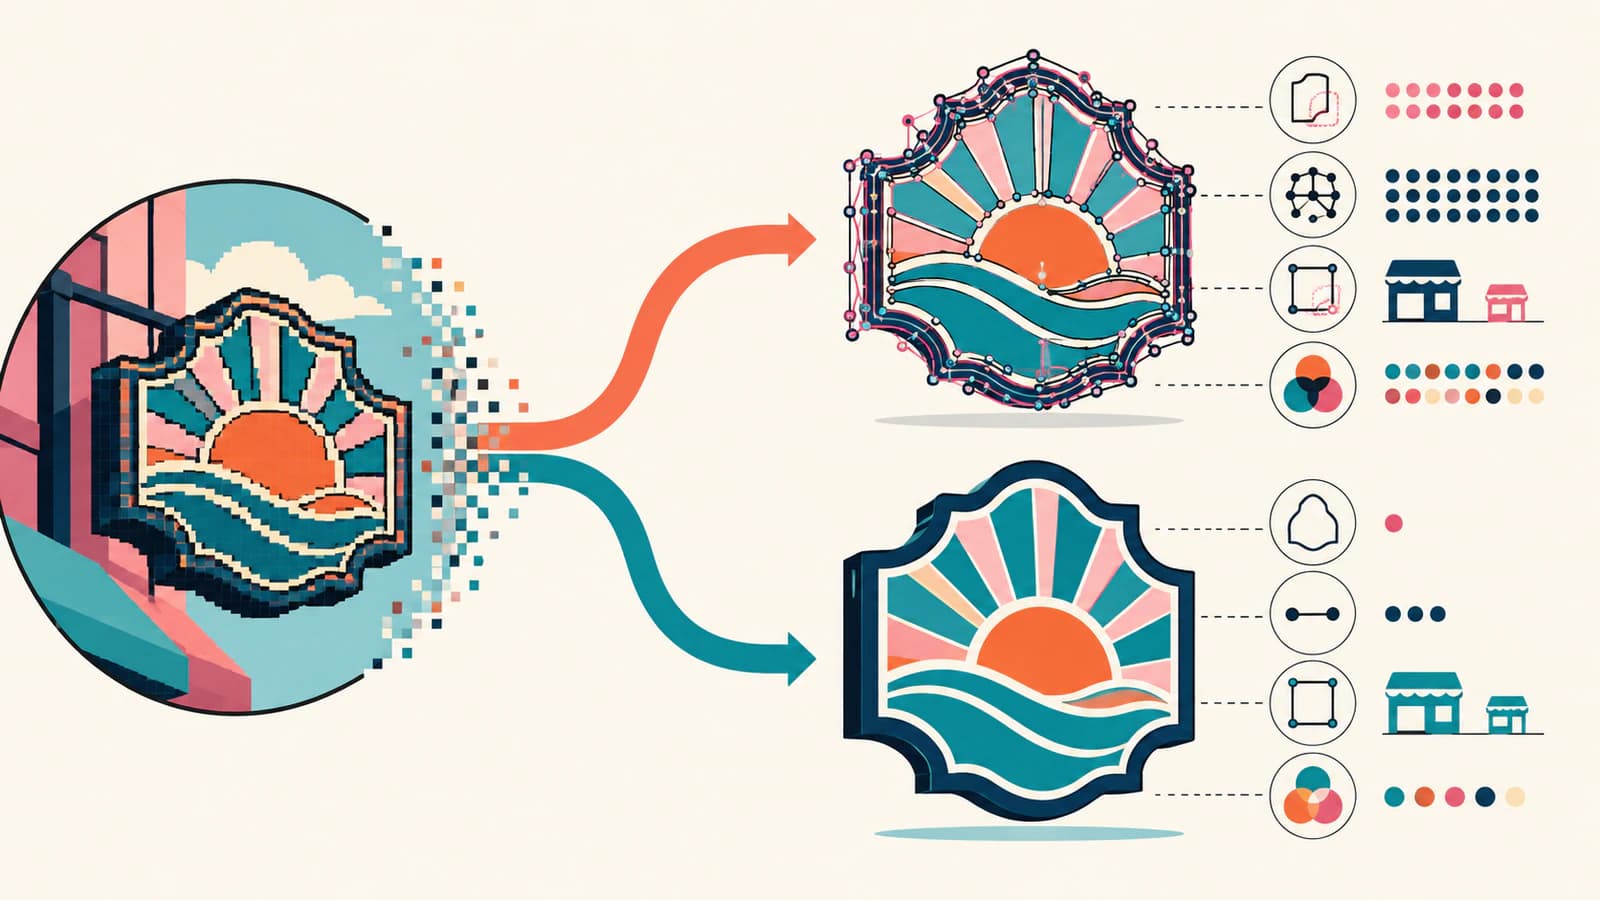
Importing an SVG does not make it automatically correct. It simply moves the reconstruction step upstream, where you can judge the paths before placing them in the sign layout.
Compare both results with the same audit
Silhouette and counters
Hide the fill or switch to an outline view. Confirm the outside silhouette and every internal opening. Letters such as A, B, P, and R expose poor tracing quickly because their counters are small and easy to close accidentally.
Curve quality
Zoom into round letters and long arcs. Look for flat spots, bumps, and unnecessary points. A clean curve uses enough nodes to control the shape, not enough to reproduce every pixel.
Color separation
Select each intended production color. Tiny isolated regions often come from compression noise or antialiasing, not the original design. Merge or remove them deliberately, especially when each color becomes a separate vinyl or print layer.
Text and brand geometry
If the typeface is known, reset the text and convert a delivery copy to outlines. Auto-traced lettering often has uneven stems and damaged corners. Rebuilding live type is cleaner than polishing every traced character.
Cut contours
Confirm that the path assigned to cutting is the intended boundary, not a duplicate, shadow, or decorative offset. Run a small test cut when material and process risk justify it.
When a manual redraw wins
Pay for or perform a redraw when the source is tiny, heavily compressed, photographed at an angle, or full of gradients that must become a simple production mark. Automatic tracing is excellent at repeating visible edges. It cannot recover a missing corner or identify the designer's intended curve.
Flexi DESIGN is positioned by SAi as a sign-design environment with vector and bitmap tools. That makes it a good place to finish production artwork, but the final quality still depends on the source and the operator's audit.
FAQ
Can FlexiSIGN vectorize a bitmap? Yes. Flexi includes bitmap vectorizing options for black-and-white and color artwork, plus manual drawing tools. The result should still be inspected for counters, nodes, color regions, and cut contours.
Which Flexi trace should I use for a logo? Use a black-and-white approach for a one-color silhouette and a color-oriented approach for flat multicolor art. Compare the output at final size and keep the route that preserves shapes with fewer repairs.
Why does my traced logo have so many nodes? The trace may be following antialiasing, compression artifacts, or a low-resolution edge. Start from a larger source, simplify within a safe tolerance, and rebuild simple circles, straight lines, or text instead of preserving noisy points.
Should I trace in FlexiSIGN or import an SVG? Try the native trace first for simple, clean artwork. Import a prebuilt SVG when it produces measurably cleaner curves, counters, and color separation. The audit after import is the same for both routes.
Sources
- SA International — Vectorizing Bitmaps — Official overview of Flexi bitmap vectorizing methods and their roles.
- SA International — Flexi DESIGN — Official product scope for vector and bitmap sign-design work.
- Signs101 — Vectorizing in Flexi — Practitioner discussion surfaced by the signed-out Google results, useful for understanding real cleanup concerns.
- PerfectVector — Vectorize a Logo — First-party description of flat-logo reconstruction, preview, and SVG output.
If a flat logo keeps producing broken counters or noisy curves, make a separate SVG candidate with PerfectVector, import it into FlexiSIGN, and choose it only if the path audit is cleaner than the native trace.
More from the blog

Graphtec Studio 2 Image Trace: Fix Incomplete Paths
Fix partial traces, missing cut paths, small counters, and noisy contours in Graphtec Studio 2. Compare native tracing with a cleaner vector-first workflow.

Roland CutStudio Image Trace: Get Cleaner Cut Lines
Use Roland CutStudio Image Outline, diagnose jagged or doubled contours, and decide when a cleaner imported vector gives your cutter better geometry.