
AutoTrace PNG to SVG: Use the Centerline Option
Run AutoTrace’s centerline command on a PNG, save an SVG, and inspect its stroke, fill and open subpaths before treating the drawing as one continuous route.
On this page
To convert a PNG to centerline SVG with the standalone AutoTrace CLI, add --centerline, request SVG output and name the saved file. Then inspect the geometry. Our AutoTrace 0.40.0 control produced a stroked path with no fill, but that one path element contained two separate open subpaths. A low path count does not establish one continuous drawing route.
If part of your artwork needs filled outlines instead, start free with PerfectVector and check the preview’s silhouettes and enclosed openings. PerfectVector does not create centerlines. Editing and export follow unlock. For the centerline task, use the complete local workflow below.
Confirm you are using the standalone AutoTrace CLI
This guide uses the installed autotrace executable described by the official AutoTrace project. AutoTracer.org is a browser upload service with its own interface; its controls are not the commands below. Inkscape’s centerline interface is another route to the task. The drawing-to-single-line SVG guide covers that GUI workflow, source preparation, cleanup and later plotter checks.
You need an installed AutoTrace executable, a terminal, a permitted PNG and an SVG viewer or plain-text editor. Put a working copy named line-control.png in a separate folder and preserve the original. Our control was a purpose-created 160 × 120 RGB PNG: a thick black vertical stem with two rightward bars on an opaque white background.
Check your installed build before tracing:
autotrace --version
autotrace --help
autotrace --list-input-formats
autotrace --list-output-formats
Our version returned AutoTrace version 0.40.0. Its format lists included PNG input and SVG output. The project notes that format support depends on the build. If PNG is missing from your actual input list, resolve that build’s input support before copying the conversion command.
1. Save an outline control
First save the ordinary trace under its own filename:
autotrace --background-color FFFFFF \
  --output-format svg --output-file outline.svg line-control.png
The maintainer’s command manual documents the background color as a hexadecimal color to ignore and the output options as the requested format and destination file. FFFFFF identifies white here. Keep that choice tied to your source rather than adding it to every image blindly.
The actual outline.svg contained one closed path with fill:#000000; stroke:none;. It described the boundary of the thick black region. For a broader explanation of filled traced line art, see line art to SVG.
2. Add centerline and save a separate SVG
Run the same source with the centerline option and a new output filename:
autotrace --background-color FFFFFF \
  --output-format svg --output-file centerline.svg \
  --centerline line-control.png
The official project and manual distinguish centerline tracing from outline tracing. Our saved centerline.svg had stroke:#000000; fill:none;, one path element and no image element. Its geometry followed thin routes through the source’s thick regions rather than filling their boundary shape.
We also tested the same source without the explicit white-background option:
autotrace --centerline --output-format svg \
  --output-file centerline-background-retained.svg line-control.png
That file was byte-for-byte identical to centerline.svg in this control. The explicit background flag was therefore not necessary for this source and build. Do not treat it as a universal fix for missing branches or an explanation for every background result.
3. Inspect the saved routes, not just the path count
These are observations from the three actual saved files, inspected as SVG markup and rendered locally. The files were retained from our original command probe; the inspection reused those outputs rather than claiming a second conversion run.
| Saved file | Path elements | Paint and closure | What it establishes |
|---|---|---|---|
outline.svg | One | Black fill, no stroke; one closed subpath | An ordinary filled boundary trace |
centerline.svg | One | Black stroke, no fill; two open subpaths | Centerline geometry with a route break |
centerline-background-retained.svg | One | Identical bytes to the centerline file | Omitting the background option made no difference here |
A subpath is a separate contour inside a path element. In SVG path data, M starts a subpath and Z closes it, as defined in the SVG paths specification. Our centerline path had two M commands and no Z command. The relevant saved data, with whitespace added for reading, was:
M30 30L30 75
C30 80.0707 28.3961 88.5616 31.6034 92.8519
C35.7319 98.3743 47.9272 96 54 96L117 96
M31 56L87 56
The first route starts along a vertical stem at x = 30. The second starts at x = 31, y = 56. That separate start is not evidence of a joined branch. Even this simple input needs endpoint inspection before anyone treats it as a continuous route.
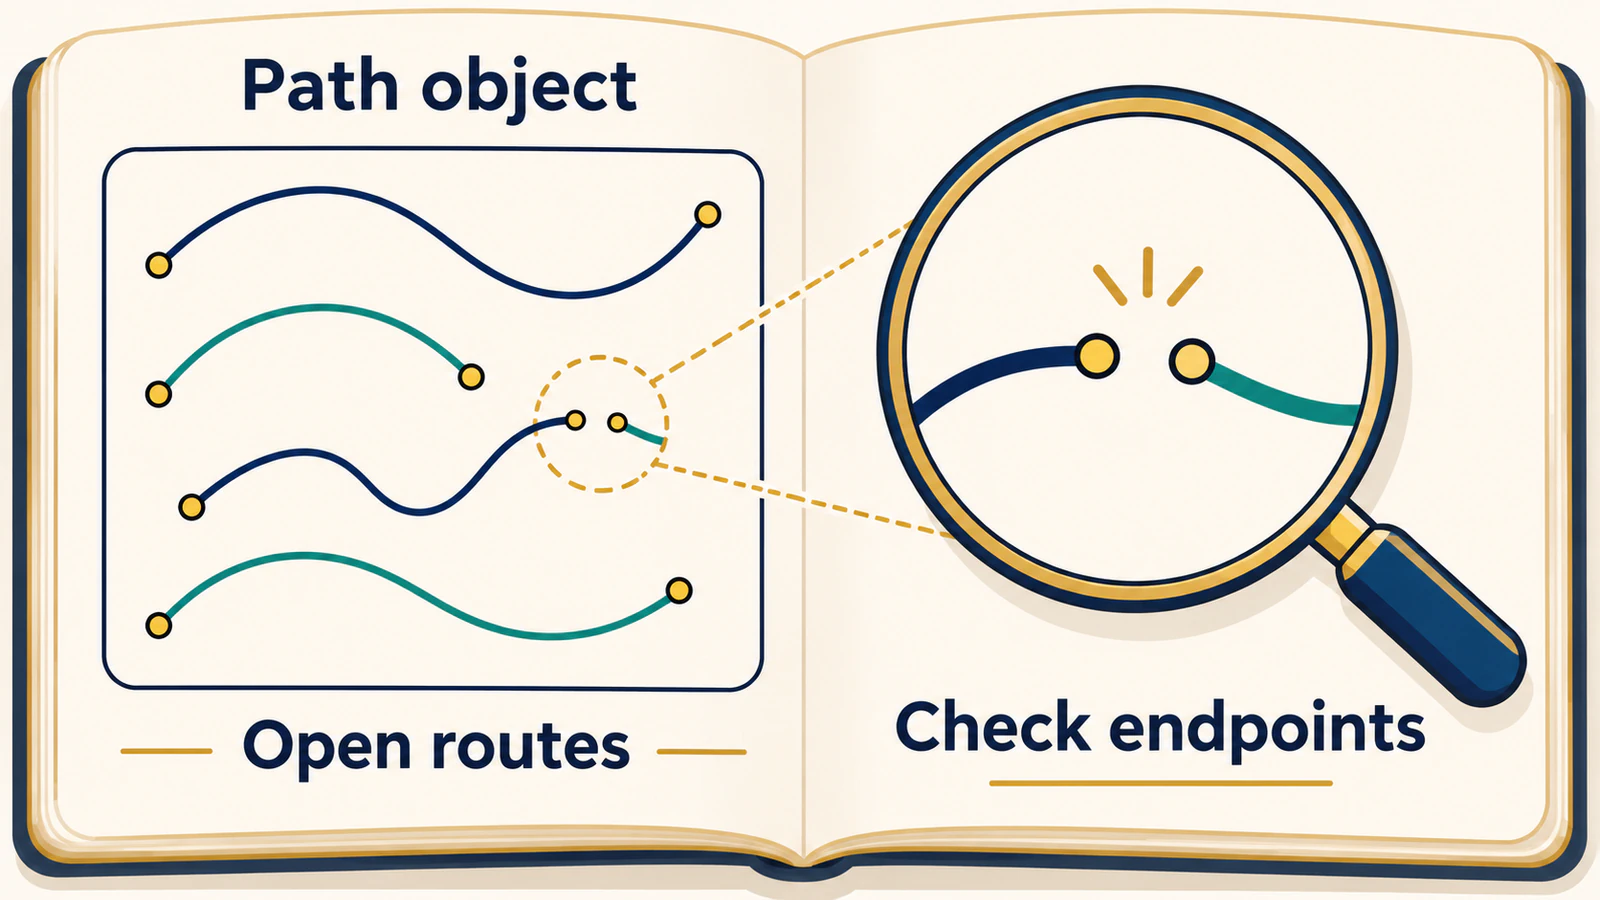
Open the SVG beside the source. Check the main stem, each side branch, endpoints and unexpected loops. Use the saved stroke/fill attributes and path data to answer structural questions; a thin-looking preview alone can hide a filled outline or a disconnected branch. These checks establish what the file contains, not successful importing or plotting in another tool.
Recover from a failed check
| Failed check | Next action |
|---|---|
| The PNG is rejected | Check the installed input-format list and that build’s dependencies |
| The SVG is still a filled closed shape | Confirm --centerline was used and inspect the newly named output rather than the outline control |
| The path is difficult to see | Inspect its stroke and fill, then choose a contrasting viewer background |
| A branch is missing or detached | Revisit the source, inspect endpoints and repair the route deliberately |
| One path is being treated as one continuous line | Inspect separate M starts and actual connections within that element |
Keep the accepted SVG with its original PNG, AutoTrace version and full command. The completion check for this CLI task is a saved SVG with the intended stroke-based routes and inspected breaks. We did not test a receiving app, native editing, a physical plot or a cut. Use the single-line drawing guide’s cleanup and plotter checks for those next decisions; automatic tracing is not proof of perfect branch reconstruction.
If a separate part of the project calls for filled silhouettes, start free with PerfectVector and compare the preview’s outer shapes and enclosed openings with your source. Keep the centerline portion in a centerline-capable workflow.
FAQ
What is the AutoTrace command for centerline PNG to SVG?
Use autotrace with --centerline, --output-format svg, an --output-file destination and the PNG input. Check the installed version and supported input formats first, then inspect the saved SVG’s stroke, fill and routes.
Is one SVG path always one continuous centerline?
No. A path element can contain several subpaths. Our actual centerline SVG had one path element but two open subpaths, so the element count alone did not establish a continuous route.
Is the white-background option required?
It was not required for our white-background control in AutoTrace 0.40.0: omitting it produced identical SVG bytes. Choose background handling for your source and installed build rather than assuming it repairs centerline geometry.
Can PerfectVector make the same centerline output?
PerfectVector creates filled outline geometry rather than centerlines. It can serve a separate filled-shape task, while marks that need a route through their middle require a centerline-capable tool or deliberate drawing.
Sources
- Official AutoTrace project — standalone CLI, centerline support, usage and build-dependent input formats.
- AutoTrace command manual — centerline, background, output-file and output-format options.
- W3C SVG paths specification — subpaths, moveto commands and closure.
- AutoTracer.org — the separate browser service distinguished from the installed CLI.
More from the blog

Blender Trace Image to Grease Pencil: Choose Your Route
Trace an image to Grease Pencil in Blender, fix missing commands and dense strokes, or prepare a color SVG for import. Choose the route your drawing needs.

OpenToonz Raster to Vector: Choose a Conversion Mode
Convert selected OpenToonz drawings into vector levels. Choose Centerline or Outline, inspect stroke structure, and understand where PLI and SVG files fit.