VectorStyler Image Trace: Live Trace, Expand, and Cleanup
Use VectorStyler Image Trace to tune a linked trace, expand it into editable paths, inspect clipping, and choose manual Tracing Guides when needed for your art.
On this page
- Start with the Image Trace panel
- Match the preset to fills or outlines
- Tune one problem at a time
- Treat transparency and white separately
- Open More Options for a specific reason
- Keep the linked trace or expand it?
- Inspect the expanded group and its clipping
- Tracing Guides are a separate manual route
- When an externally traced SVG makes sense
- What this looks like with PerfectVector
- FAQ
- Sources
VectorStyler Image Trace converts a selected pixel image into vector artwork, but the default result stays in a trace group associated with the image. You can change its settings and press Trace again, or use Expand Content when you're ready to edit the vector objects directly. Release does something else: it restores the original image. Those distinctions are documented in VectorStyler's Image Tracing guide.
The useful sequence is to choose the right preset, tune the linked result, and expand once the remaining work belongs on individual paths. “Live trace” here means the retained trace can be revised; it does not mean changing a setting automatically reruns the conversion.
Trace, inspect, then expand
- Open Window → Image Trace, select the imported image, choose a Styles preset, and click Trace.
- Keep the trace associated with the image while comparing settings. Press Trace after a change.
- Use Styles → Expand Content for direct vector editing; use Release to return to the image.
- Inspect the expanded group before removing a clipping shape or deleting a white region.
- For selected edges you want to follow by hand, use Tracing Guides, a separate workflow from automatic panel tracing.
Start with the Image Trace panel
Import a clean source image and select the image object. Then open Image Trace from the Window menu. The official tracing documentation covers pixel formats such as PNG, JPEG, and PSD and gives the sequence: select the image, choose a preset in Styles, adjust options if needed, and click Trace.
Keep an untouched source copy available. Pick one feature to judge closely—a letter counter, a thin outline, or the junction between two colors—and also compare the full silhouette. That gives each settings change a purpose.
If you only need a few curves from a busy picture, skip ahead to Tracing Guides. Automatically reconstructing every region can create artwork you never intended to keep.
Match the preset to fills or outlines
A preset is a starting configuration for a kind of source. It is not a ranking from low quality to high quality.
| Artwork you need | Preset family to inspect | First detail to check |
|---|---|---|
| Colored hand-drawn regions | Color Drawing | Filled areas and small gaps |
| Colored drawn strokes | Color Outlines | Stroke continuity and thickness |
| A grey sketch interpreted as lines | Gray Sketch | Which marks became outlines |
| Grey artwork interpreted as regions | Gray Tones | Filled areas and tonal separation |
| Flat cartoon or geometric art with few colors | Low Color Cartoons or Low Color Shapes | Silhouette and useful color boundaries |
| Thin technical linework | Thin Outlines | Narrow strokes and junctions |
These names and intended output types come from the Image Tracing guide. VectorStyler's introductory tutorial adds a useful warning: some tracing presets focus on strokes and intentionally ignore large filled areas.
That is the first thing to check if a flat shape disappears. Before compensating with more detail or more colors, confirm that the preset is trying to extract the kind of object you want.
The Photographic preset is also documented, but a photograph's many tonal regions are a different editing problem from a flat logo. Decide which visual details matter before accepting all the detail a trace can extract.
Tune one problem at a time
After the first trace, identify the defect you want to change. A rough contour, unwanted speck, missing fill, and incorrect opacity do not all call for the same control.
| Control | Documented role | What to compare after retracing |
|---|---|---|
| Mode | Chooses black-and-white, grayscale, color, or palette-based conversion | Whether the needed color or tone distinctions remain |
| Tolerance | Fits curves in pixel units; lower retains more detail, higher gives smoother curves with less detail | Intentional corners as well as bumps |
| Reduce Size | Downscales the source before tracing | Thin features and gaps that could disappear |
| Minimum Area | Merges regions smaller than the chosen pixel area with their neighbors | Dust specks versus intentional small marks |
| Extract Fills / Extract Stroke | Chooses filled regions, outline strokes, or both | Whether the output has the path structure you need |
| Stroke Width | Sets the maximum width used when extracting outline strokes | The thickest intended stroke and nearby filled shapes |
The panel's control reference defines those behaviors. Change one control, press Trace, then compare the same area. Don't assume the newest preview is better because it looks smoother from a distance.
The panel reports Fills, Colors, Outlines, and Nodes after conversion. Use those counts to notice a large structural change between your own trials, then inspect what changed. A lower count is useful only if the drawing still contains the shapes you need. The vector-trace quality checklist gives a broader acceptance process for silhouette, spacing, topology, and cleanup effort.
Treat transparency and white separately
Extract Alpha uses the image's alpha channel to derive opacity values. Ignore Transparent omits shapes in transparent regions, while Ignore White omits white regions. These are separate options in the Image Trace documentation.
Choose them according to the artwork. If white eyes, highlights, or lettering belong in the design, omitting white regions can remove wanted content along with a white background. Inspect the result on a contrasting canvas or background before deleting anything else.
Open More Options for a specific reason
The panel menu's More Options exposes additional controls such as curve smoothing and preprocessing. Start there only when you can name the problem the basic settings have not resolved. Record the source, preset, and change you're comparing; a collection of different settings is hard to judge if the source also changes between trials.
Keep the linked trace or expand it?
Keep the default trace group while the remaining decision concerns tracing settings. Select it, adjust the options, and press Trace again. Use Release if you want the image back.
When the tracing choices are settled and you need to move nodes, recolor individual objects, or remove fragments, use Styles → Expand Content. The result is a group of vector objects. VectorStyler also documents Keep with Image in the panel menu: disabling it creates an editable vector group directly and removes the original image; Undo can restore it. See the linked-trace and expansion instructions.
For a first working file, keep a duplicate of the linked trace or the original image before expansion. That preserves a comparison source while you decide whether a difficult contour is better fixed by retracing or by editing its points.
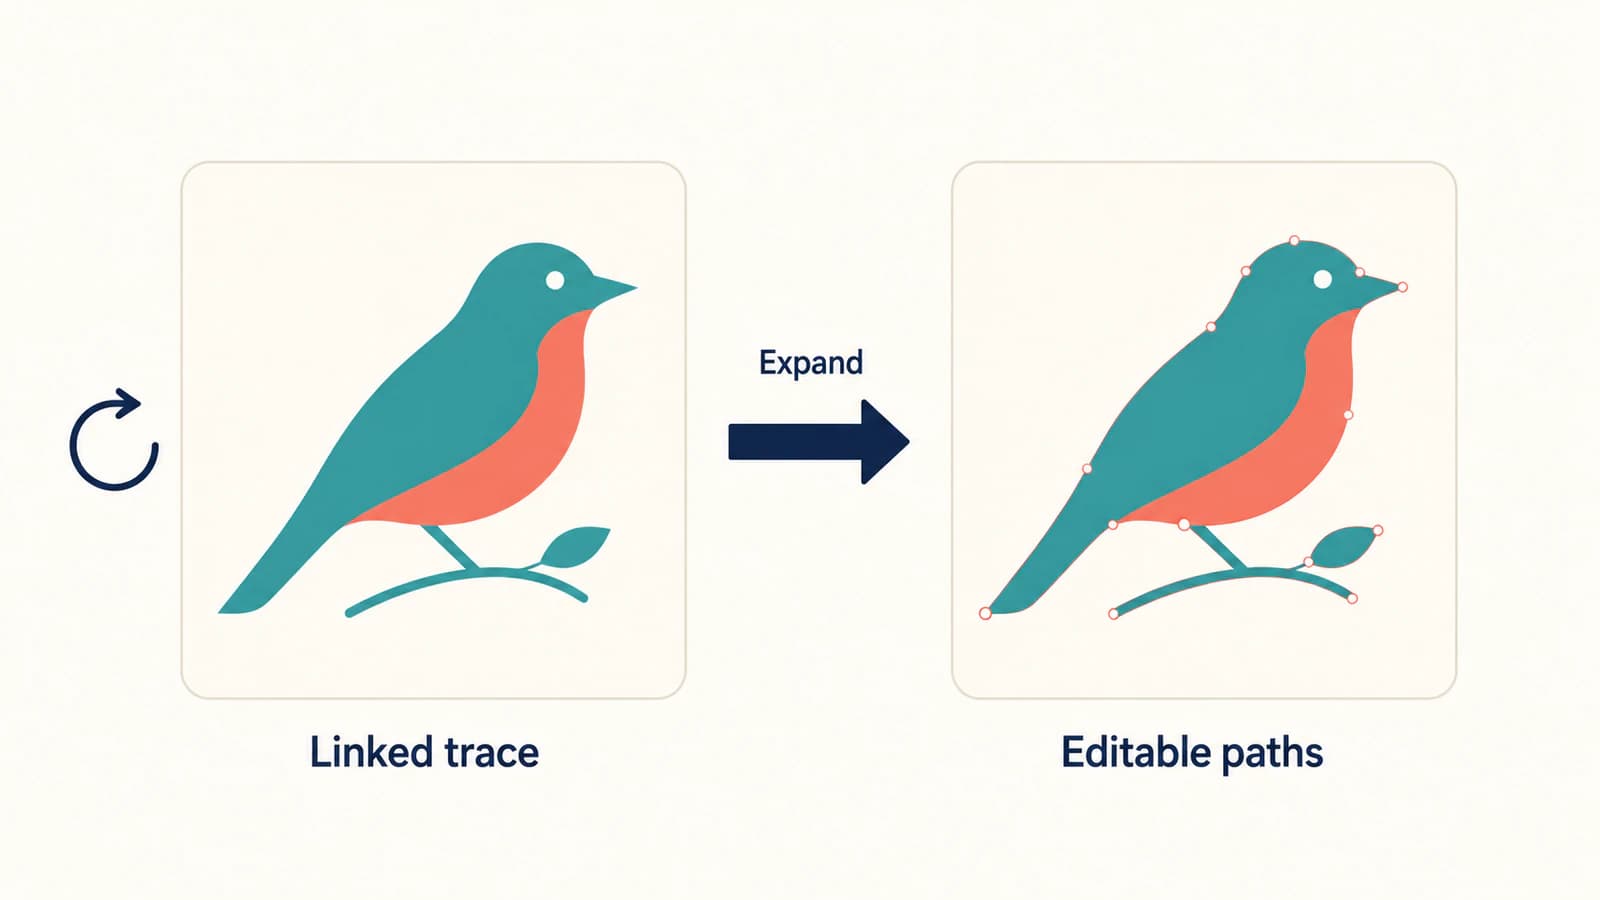
Expansion is the editing boundary, not a cleanup pass. If the trace already has a misshapen corner or an unwanted region, expect to inspect and repair that artwork afterward.
Inspect the expanded group and its clipping
If the trace still behaves as one object, establish whether you're selecting a linked trace, an expanded group, or a clipping shape. They are different structures. A group can contain editable vectors even when clicking once selects the whole group.
Start by inspecting its contents. If there is a clipping shape you no longer need, VectorStyler documents Clear Object Shape in the Object menu for removing that shape from a clipped group. The command is active for an eligible selected group; it is not a general-purpose “remove the background” command. The Editing Shapes documentation also explains that a clipping group can have its own fill and outline.
That distinction matters when a white rectangle appears around artwork. Check whether you are looking at a traced white object, a group's fill, or a clipping boundary before removing it. Try a change on a duplicate and compare the visible artwork, especially at the old boundary. If the frame was deliberately cropping the content, removing it can reveal content outside that area.
The guide to SVGs that won't ungroup covers the same inspection habit for exchange files: identify groups, compound paths, clips, and raster content before applying commands intended for a different structure.
Once the group is understood, inspect the paths:
- Remove isolated fragments that do not belong to the source art.
- Check holes, counters, and gaps at the intended viewing size.
- Compare adjacent colors and any partially transparent regions.
- Simplify or redraw only the contours that need it.
- Keep the source reference until the edited artwork passes those checks.
Don't release every clip or flatten every group just to make the document look simpler. Keep the structure that serves the artwork's next use.
Tracing Guides are a separate manual route
VectorStyler uses similar names for two different workflows. The Image Trace panel automatically converts the selected image. The Trace Guide panel highlights image edges for the Image Trace tool, which lets you create or extend shapes by clicking selected edges. This distinction is explicit in the Tracing Guides manual.
Use the guide route when you want a few chosen shapes from an image instead of a full automatic trace. Open Trace Guide from the Window menu, select the image and an edge-extraction style, enable the edge preview, and adjust it until the relevant edges are visible. With the Image Trace tool, click a highlighted edge to begin or extend a shape; Escape lets you finish the active selection and start another.
This route still requires your choice of which edges to follow. It does not recover hidden lines or make a low-resolution reference exact. Inspect the resulting curves against the source just as you would after automatic tracing.
When an externally traced SVG makes sense
VectorStyler's native panel fits when you want to compare its tracing options inside the document. An external trace can fit when you're preparing a reusable SVG before you start editing in VectorStyler. The application documents SVG import and export, so a prepared SVG is a separate source route.
If an editable SVG already contains the artwork you need, import it directly. There is no need to rasterize it and trace it again. For a raster source, the Image Trace versus AI vectorizer guide explains how to compare routes by the resulting artwork and cleanup needs.
What this looks like with PerfectVector
If you want to prepare an SVG from a flat PNG or JPG before editing in VectorStyler, use PerfectVector's image to vector converter to create a candidate. Inspect its silhouette, small gaps, color regions, and background, then download it and open the SVG in VectorStyler. Check the imported paths and grouping before choosing which result to edit. If the native Image Trace already gives you suitable artwork, continue with that result.
A source-based comparison is more useful than assuming either engine will win on every image. Judge the same details and the actual edits your project requires; no particular node count or polished preview establishes that on its own.
FAQ
Where is Image Trace in VectorStyler? Open Image Trace from the Window menu, select the imported pixel image, choose a preset in Styles, and click Trace. The Trace Guide panel and Image Trace tool are a separate workflow for following chosen image edges.
Why can't I edit the paths after tracing? The default result is a trace group associated with the original image. Use Expand Content from the Styles menu when you're ready for direct vector editing. Then inspect the resulting group and its contents.
Does changing a live trace setting update the result automatically? The documented workflow requires changing the setting and pressing Trace again. Keeping the trace associated with the image makes that revision possible; it does not mean continuously automatic conversion.
Does Release make the vectors editable? No. Release restores the original image from the trace group. Expand Content creates the editable vector group.
Why did a large filled area disappear? Check the preset and the Extract Fills setting. Some presets are designed to detect strokes and ignore large filled regions. Also check Ignore White if the missing area was white.
Should I remove the rectangular clip after expanding? Only if you no longer need it. Inspect the group and any fill first. Clear Object Shape removes an eligible group's clipping shape, which can reveal content that the clip was hiding.
Sources
- VectorStyler — Image Tracing — Documents panel tracing, presets, control meanings, trace groups, Release, and Expand Content.
- VectorStyler — Discovering VectorStyler — Explains why some stroke-oriented presets deliberately ignore large filled areas.
- VectorStyler — Editing Shapes — Explains clipping groups, their fill and outline, and Clear Object Shape.
- VectorStyler — Tracing Guides — Distinguishes guided edge tracing with the tool from automatic panel tracing.
- VectorStyler — Frequently Asked Questions — Confirms SVG import and export for the alternative source route.
Have a flat image you want to prepare as SVG? Convert your own image, compare the small gaps and color boundaries with the source, then inspect the imported paths in VectorStyler before committing to cleanup.
More from the blog

Xara Bitmap Tracer: Tune the Trace and Inspect the Shapes
Use Xara Bitmap Tracer modes and controls to turn a bitmap into editable shapes. Check curves, corners, color regions, and exported artwork before delivery.

Moho Bitmap to Vector: Trace or Keep the Raster?
Choose native tracing, layered raster art, or SVG import in Moho. Check color regions, holes, and movable parts before building an animation rig from your art.