Can Krita Vectorize an Image? What Works Instead
Krita supports vector layers, but it is not a full image tracer. Learn three honest ways to turn artwork into editable vectors and bring SVG back into Krita.
On this page
- What Krita can do with vectors
- Three ways to vectorize artwork for Krita
- Route 1: redraw clean geometry on a vector layer
- Route 2: convert a simple silhouette boundary
- Route 3: trace outside Krita and bring the SVG back
- Which route should you use?
- How to check whether the result is really vector
- Clean up the SVG before returning to Krita
- Common problems
- The imported SVG is still pixelated
- The silhouette conversion creates a rough outline
- The trace has too many nodes
- Colors or gradients change in Krita
- The artwork is difficult to edit as one object
- FAQ
- Sources
Krita can create and edit vector shapes, but it does not automatically turn a detailed PNG or JPG into a clean, multicolor vector illustration. Krita is primarily a raster painting application. Its vector layers are useful for drawing shapes, paths, and text, or for working with SVG content that already exists.
For a simple black silhouette, you can convert an opaque selection into a vector boundary. For a logo, drawing, or color illustration, the more reliable route is to trace the image with a dedicated vectorizer, then open or paste the resulting SVG into Krita.
Short answer
- Need crisp geometric shapes? Redraw them on a Krita vector layer with the Bézier and shape tools.
- Need one simple silhouette? Select the opaque pixels and convert that selection into a vector shape.
- Need a detailed or multicolor trace? Vectorize outside Krita, then bring the SVG back for editing or compositing.
- Need to verify the result? Select individual shapes and inspect their nodes, fills, and strokes. An SVG filename alone does not prove that its image content is vector.
What Krita can do with vectors
Krita's Vector Graphics manual is explicit about the product's center of gravity: most Krita editing works on pixels. A vector layer is the exception. It stores shapes that can be scaled and edited without the same pixel-grid limitation.
On a vector layer, Krita can:
- draw paths with Bézier, freehand, line, polygon, and polyline tools;
- create rectangles, ellipses, and other shapes;
- edit vector nodes and shape properties;
- apply solid, gradient, or pattern fills;
- open SVG files and copy vector content to or from Inkscape.
The Vector Layers reference describes these layers as containing vector graphics only. That makes them useful for lettering, panels, flat decorations, layout elements, and clean shapes alongside painted layers.
What the documented workflow does not provide is a full-color auto-trace command that analyzes a photograph or illustration and reconstructs all of its regions as polished paths. Drawing vectors and tracing pixels are different jobs.
Three ways to vectorize artwork for Krita
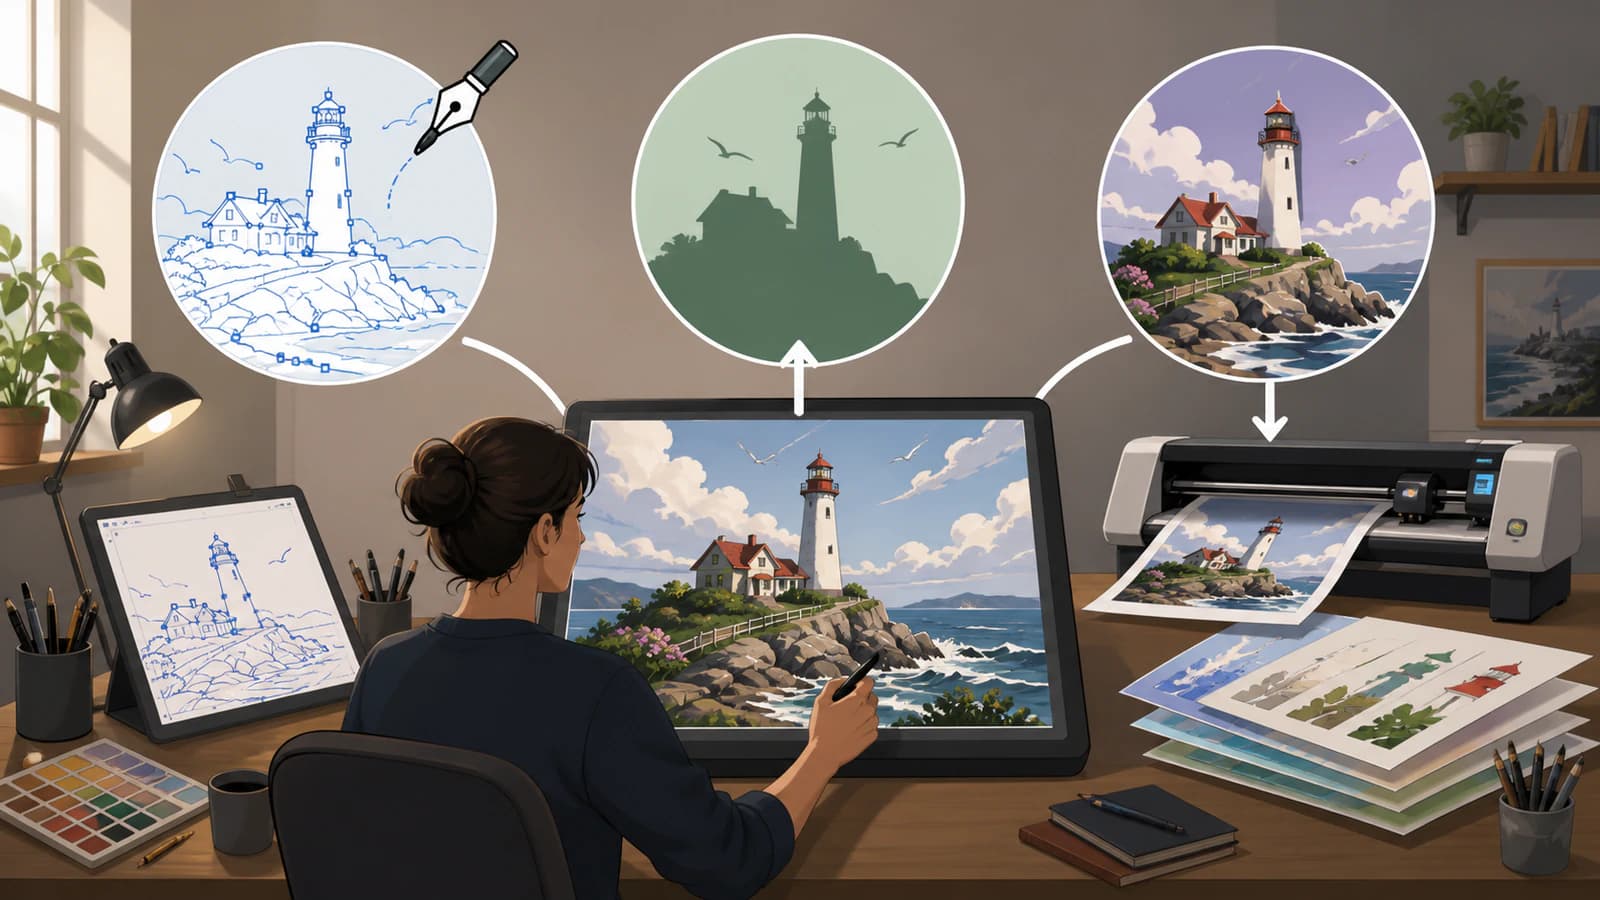
Route 1: redraw clean geometry on a vector layer
Manual redraw is usually the best route for icons, badges, lettering, diagrams, and logos made from a small number of intentional shapes.
- Keep the raster image on a paint layer as a reference.
- Lower its opacity so the new paths are easy to see.
- Add a vector layer from the arrow beside the layer-add control.
- Use the rectangle, ellipse, polygon, or Bézier tools to rebuild the design.
- Use Select Shapes and Edit Shapes to adjust positions and nodes.
- Recreate fills and strokes, then hide the raster reference and inspect the result.
This takes longer than pressing a trace button, but it preserves design intent. A circle stays a circle, straight edges remain straight, and you decide which details matter. Automatic tracers often turn those same features into irregular paths with too many nodes.
Route 2: convert a simple silhouette boundary
Krita's selection commands provide a narrow in-app option for artwork that is already one clean opaque shape on transparency. The Select menu reference documents Select Opaque, Convert to Vector Selection, and Convert to Shape. The conversion follows the selection boundary; it does not recover multiple colors or infer the original construction.
A practical sequence is:
- Put the isolated silhouette on its own paint layer with a transparent background.
- Use Select Opaque to select its non-transparent pixels.
- Convert the raster selection to a vector selection.
- Convert that vector selection to a shape on a vector layer.
- Edit the resulting nodes, fill, and stroke.
Use this for a stamp-like silhouette, a solid icon, or one outer boundary. Do not expect it to rebuild shading, internal color regions, brush texture, or centerlines. Semi-transparent edges can also produce a boundary that needs cleanup.
Route 3: trace outside Krita and bring the SVG back
For a multicolor logo, scanned drawing, sticker, or flat illustration, use a tool designed to reconstruct raster art as paths.
- Start from the original PNG or JPG rather than a screenshot.
- Remove accidental background pixels and crop unused space.
- Convert the image to editable vector paths.
- Inspect the preview for missing holes, merged colors, rough edges, and excess nodes.
- Download the SVG only when its shapes match the intended design.
- Open the SVG in Krita, or copy its vector shapes into a Krita vector layer.
PerfectVector is useful here because it performs the tracing job that Krita's vector tools do not. It can reconstruct suitable flat artwork as editable SVG shapes, but it cannot recover hidden geometry, identify the original font, or guarantee that a complex painting should become a compact vector.
If you want a free, settings-driven alternative, Inkscape Trace Bitmap handles single-scan silhouettes and multiple-scan color traces. Compare the resulting shapes, node count, and cleanup time instead of choosing by the filename alone.
Which route should you use?
| Source | Best starting route | Why |
|---|---|---|
| Simple geometric icon | Manual redraw in Krita | Preserves exact lines, curves, and symmetry |
| One-color silhouette on transparency | Convert the selection boundary | Fast when only one filled outline is needed |
| Clean line drawing | External trace or careful redraw | The right choice depends on whether you need outlines or centerlines |
| Multicolor flat logo | External vectorizer | Rebuilds separate color regions more efficiently |
| Painterly illustration or photograph | Keep raster, or simplify deliberately | Continuous tone rarely becomes a small, useful path set |
| Existing SVG | Open or paste it into a vector layer | The vector geometry already exists |
The fastest route is not always the cleanest one. If a logo uses only four circles and two rectangles, manual reconstruction may beat cleaning hundreds of traced nodes. If it contains twenty irregular color regions, a good automatic trace can save substantial time.
How to check whether the result is really vector
An SVG can still contain an embedded raster image. Opening that file in Krita does not magically convert the pixels. Use these checks:
- Select an individual element with the shape-selection tool.
- Confirm that you can edit its nodes, fill, and stroke.
- Zoom in closely. Vector edges should remain geometry rather than revealing a pixel grid.
- Hide or delete the suspected image element and confirm that editable shapes remain.
- Reopen the SVG in another vector editor when interoperability matters.
If the whole artwork behaves like one rectangular image, it is probably still raster content inside an SVG wrapper. The guide to checking whether an SVG contains a raster image covers the markup and editor checks in more detail.
Clean up the SVG before returning to Krita
Automatic tracing is a first draft. Before treating the file as finished:
- remove background rectangles and isolated specks;
- preserve intentional holes and negative space;
- merge only shapes that truly belong together;
- simplify noisy nodes without flattening corners;
- replace obviously geometric traced paths with real circles or straight segments;
- check that strokes and fills behave as expected;
- compare the SVG against the source at both normal size and high zoom.
Keep the Krita document as the layered working master when raster paint and vector shapes need to coexist. Treat the SVG as an interchange file for the vector portion, and test it in the application that will receive it.
Krita's vector documentation notes that its SVG support is based on SVG 1.1 and does not cover every feature. Complex effects or newer features such as mesh gradients may not transfer exactly. Flatten unsupported appearance only when editability is no longer required, and keep the original SVG as a backup.
Common problems
The imported SVG is still pixelated
The SVG probably embeds the original bitmap rather than containing paths. Select the object and inspect whether it exposes editable nodes. If it behaves like one image rectangle, trace the source with a real vectorizer and import that result.
The silhouette conversion creates a rough outline
The selection followed anti-aliased or noisy pixels. Clean the mask first, remove semi-transparent fringes, and simplify the final path carefully. For a simple geometric mark, manual redraw is usually faster and cleaner.
The trace has too many nodes
Noise, texture, blur, and low resolution all create extra boundaries. Start from a cleaner source and reduce irrelevant detail before tracing. Simplify in small steps, because aggressive simplification can distort corners and counters.
Colors or gradients change in Krita
The SVG may use features that Krita handles differently or does not fully support. Test flat fills first, inspect gradients after import, and preserve a copy of the source SVG. If appearance matters more than editing, keep a raster reference alongside the vector layer.
The artwork is difficult to edit as one object
Imported shapes may be grouped. Enter or ungroup the structure before assuming that the file is flattened. If the only child is an image, however, it is still raster content rather than a group of vector paths.
FAQ
Can Krita automatically trace a PNG into vector paths? Not as a general full-color image-tracing workflow. Krita can draw and edit vector shapes, and it can convert a simple selection boundary into a shape. Use a dedicated vectorizer for detailed or multicolor raster art, then bring the SVG into Krita.
Does Krita support SVG files? Yes. Krita can open SVG files and work with SVG-based content on vector layers. Its manual notes SVG 1.1 support with some feature limitations, so inspect gradients and complex effects after import.
Can I convert a selection to a vector in Krita? Yes. Krita documents commands to convert a raster selection to a vector selection and a vector selection to a shape. This is most useful for one clean boundary, not for reconstructing every color and detail in an image.
Is Krita or Inkscape better for vectorizing an image? Krita is stronger for raster painting plus occasional vector shapes. Inkscape has a dedicated Trace Bitmap workflow and broader vector editing. Use Krita for painting and compositing, and use Inkscape or a dedicated vectorizer when automatic tracing is the main job.
Why is my SVG still blurry in Krita? The SVG may contain an embedded bitmap, or a raster layer may be scaling with the document. Confirm that the artwork exposes editable shapes and nodes. If it behaves like one image rectangle, it has not been vectorized.
Sources
- Krita Manual — Vector Graphics — Explains Krita's raster-first model, vector shapes, SVG handling, fills, and interchange with Inkscape.
- Krita Manual — Vector Layers — Documents vector-layer contents and the tools used to draw and edit shapes.
- Krita Manual — Select Menu — Documents Select Opaque, Convert to Vector Selection, and Convert to Shape.
Have artwork that needs more than a silhouette boundary? Convert the image to editable SVG paths, inspect the shapes and nodes, then bring the verified SVG into Krita.
More from the blog

Can Sketchbook Vectorize an Image? Export First
Keep your layered Sketchbook master, export a clean PNG, then trace it to SVG. Check desktop and mobile options, transparent backgrounds and editable shapes.

Can Paint.NET Vectorize an Image? Check the Plugin
Paint.NET edits pixels, but one SVG plugin also traces images. Learn which operation you need, then check that the exported artwork contains editable shapes.